¶ What’s New?
¶ Since Version 3.8
- At the beginning of a review session, students can request an archive of their exam. The archive remains available for download in the Dynexite learner environment for 14 days after it has been generated.
¶ Since Version 3.6
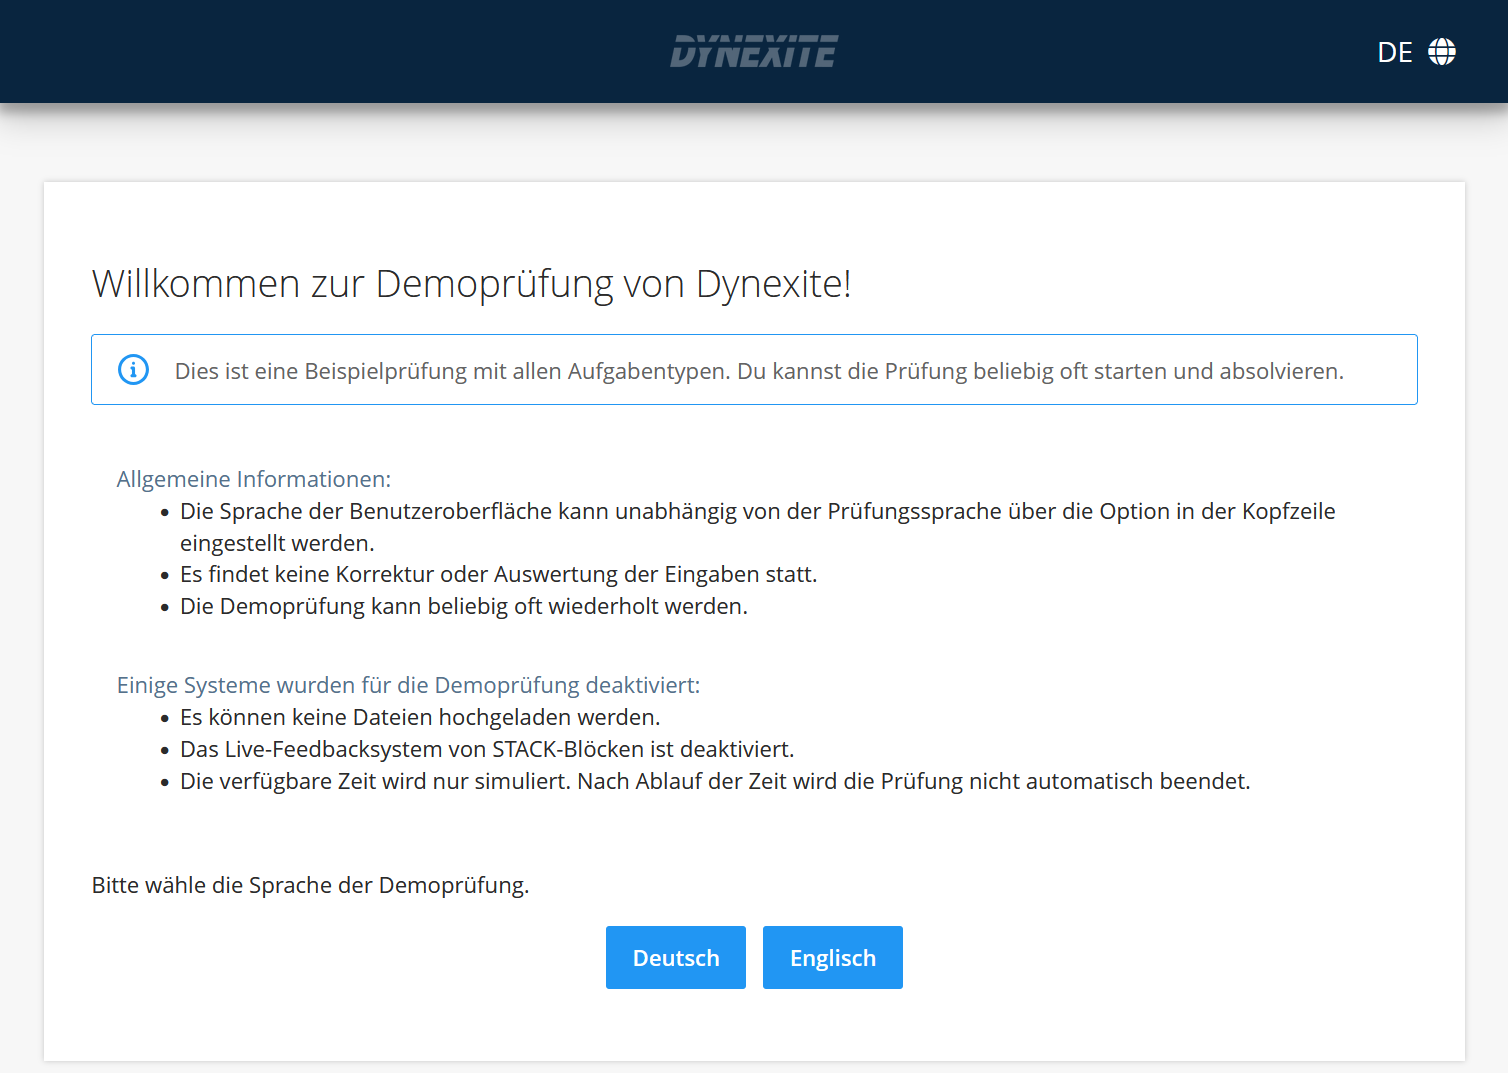
- The demo exam at https://dynexite.rwth-aachen.de/l/demo has been updated and expanded.
¶ E-Exams from the Students’ Perspective (RWTH-Specific)
This chapter contains information about (RWTH-specific) procedures from the students’ perspective regarding the following topics:
- Participating in an electronic exam:
- Online remote exams (usually from home or at an institute)
- Online on-site exams (in an e-exam room)
- Changing the user interface language
- Special features of exams with an upload phase
- Special features of exams using QuickEScan
- Uploading exam documents in file-upload tasks during online remote exams
- Via the Telescope app
- From a local computer
- Accessing the digital calculator during an online on-site exam (only if enabled by the teaching staff)
- Submitting an exam
- Participating in an exam review
- Submitting a regrading request
- Completing exercises in the Dynexite learning environment
Here you can access a Dynexite demo exam. It allows users to explore the Dynexite user interface and explains the various task types using sample questions.
¶ Starting an Online Remote Exam
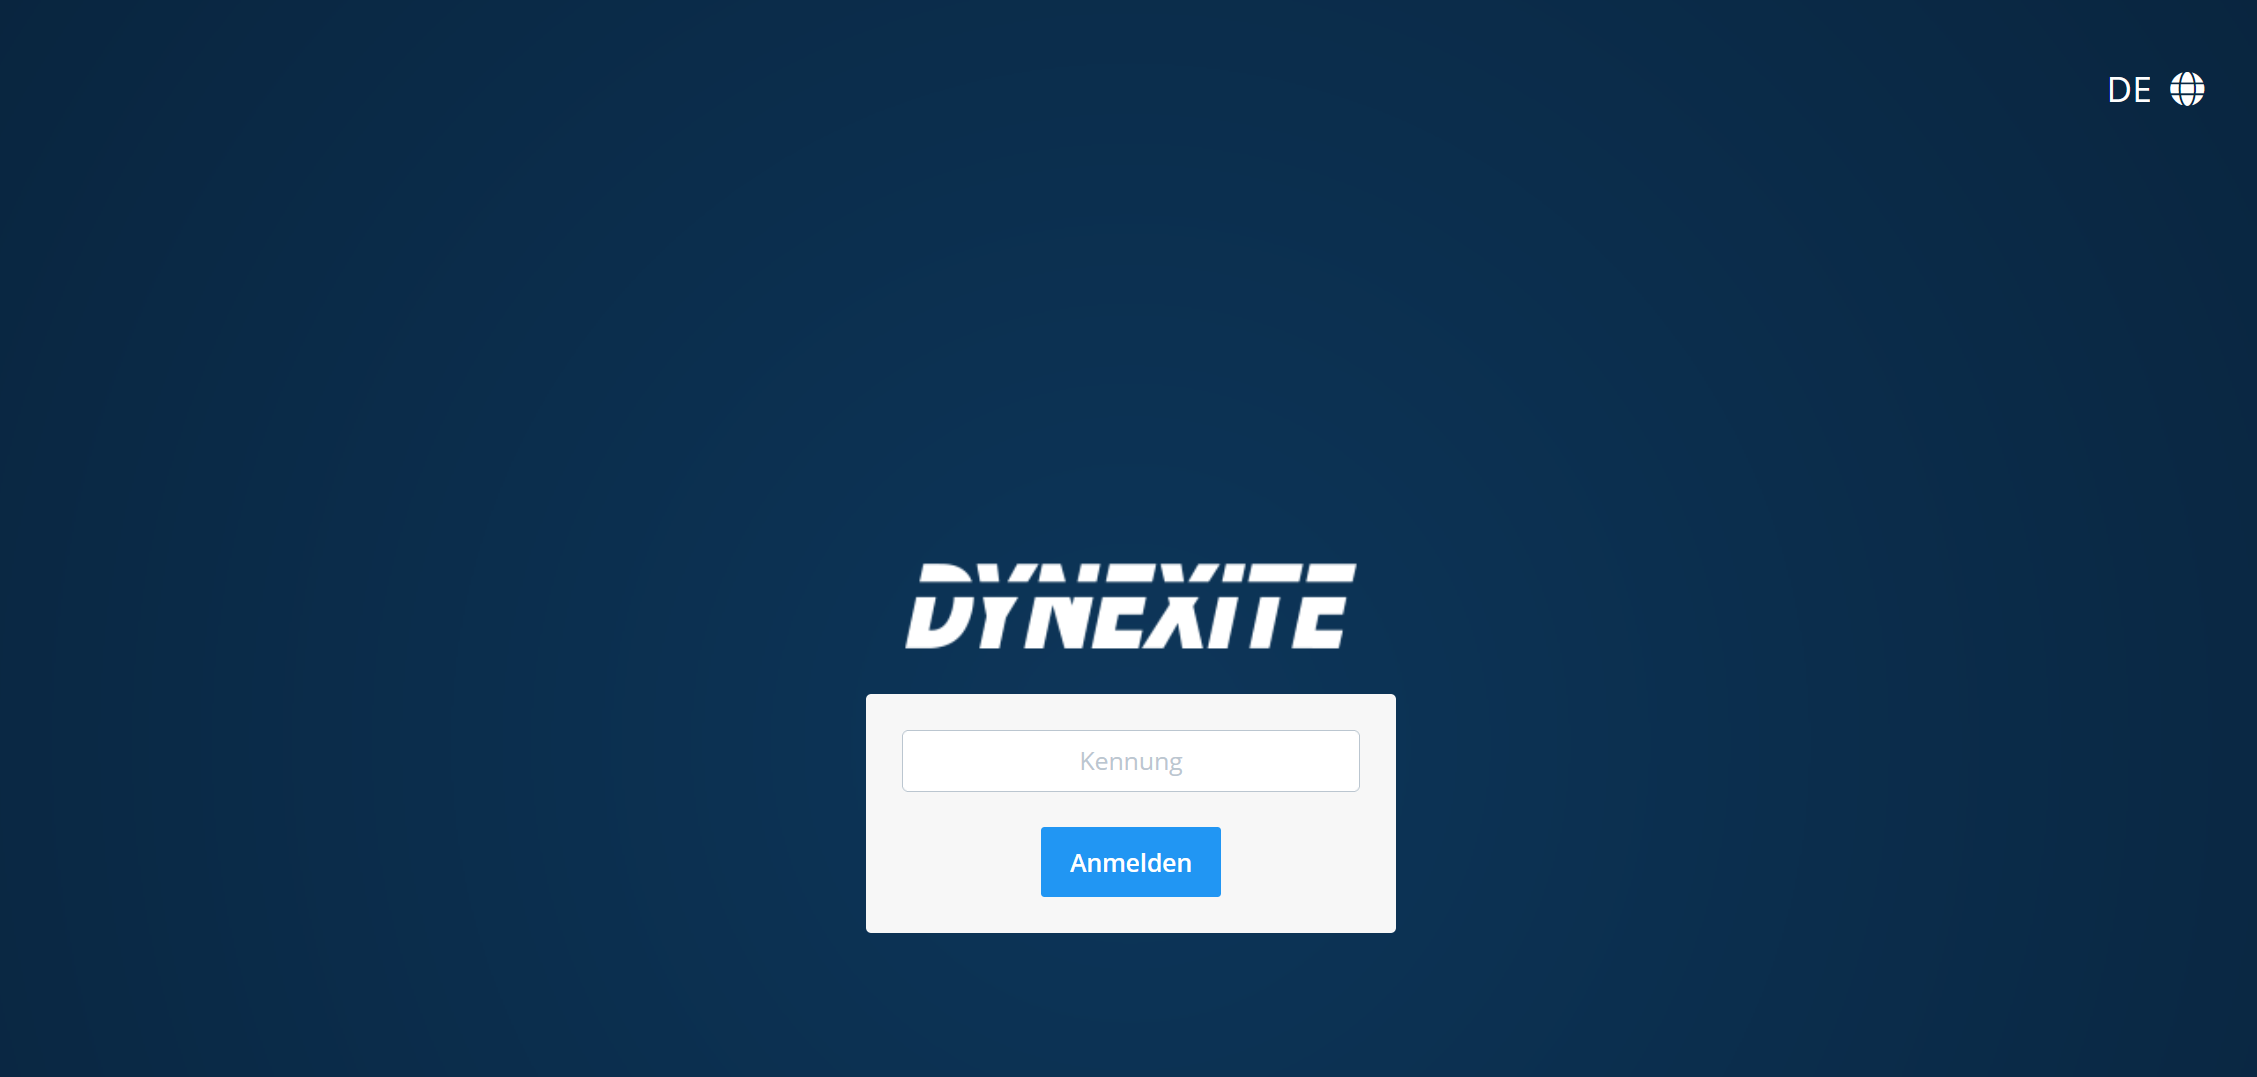
Depending on the type of e-exam - on-site or remote - users log in either with their student ID number or via RWTH Single Sign-On (RWTH SSO).
¶ Login for Online On-Site Exams
Exam location: RWTH E-Exam Rooms
Login: Studten ID Number
The exam is enabled in three stages (by a Dynexite administrator or instructors in DIY mode):
1: Login available
2: Consent forms enabled
3: Exam ready to start
¶ Login for Online Remote Exams
Exam Location: At home or on institute premises
Login: RWTH Single Sign-On (SSO / TIM Account)
Multi-factor authentication is mandatory for login via RWTH SSO. The second factor must be generated in the Selfservice Portal using the Token Manager. This does not apply to online on-site exams, as login is performed using the student ID number.
¶ After Login
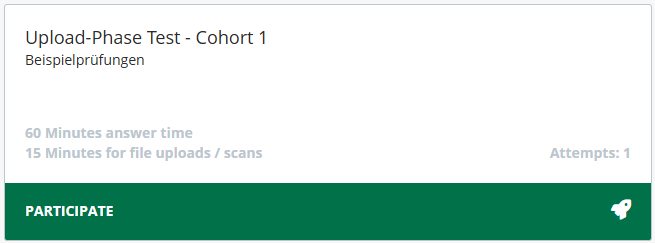
After logging into Dynexite, the exam is usually not yet enabled. The view looks as follows: 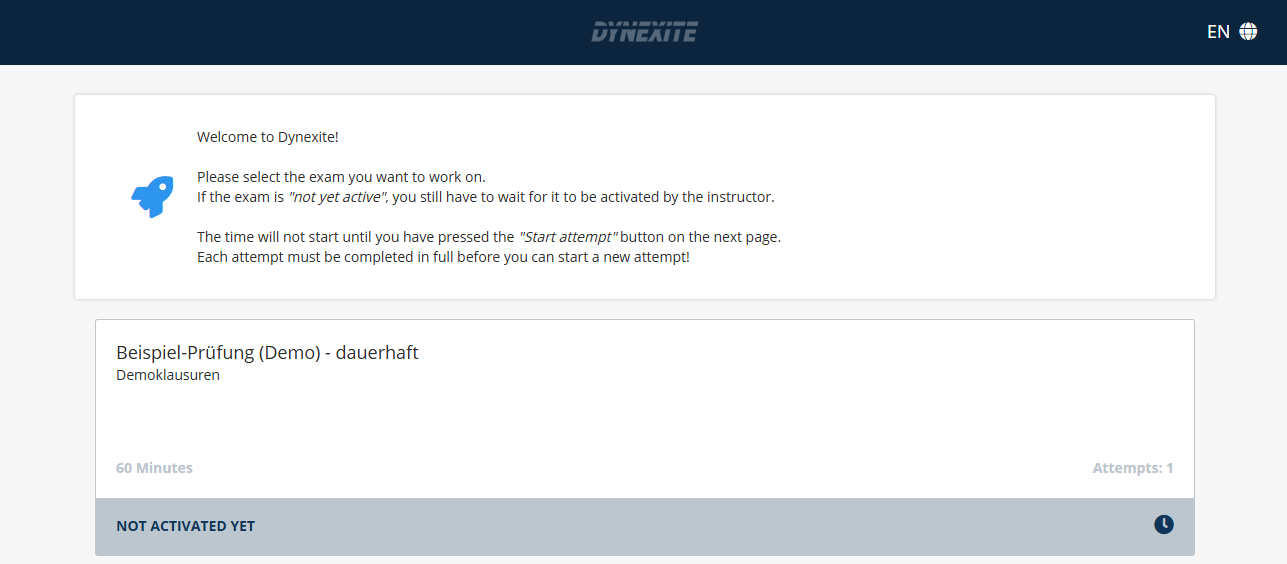
The green PARTICIPATE bar indicates that the exam is ready to start: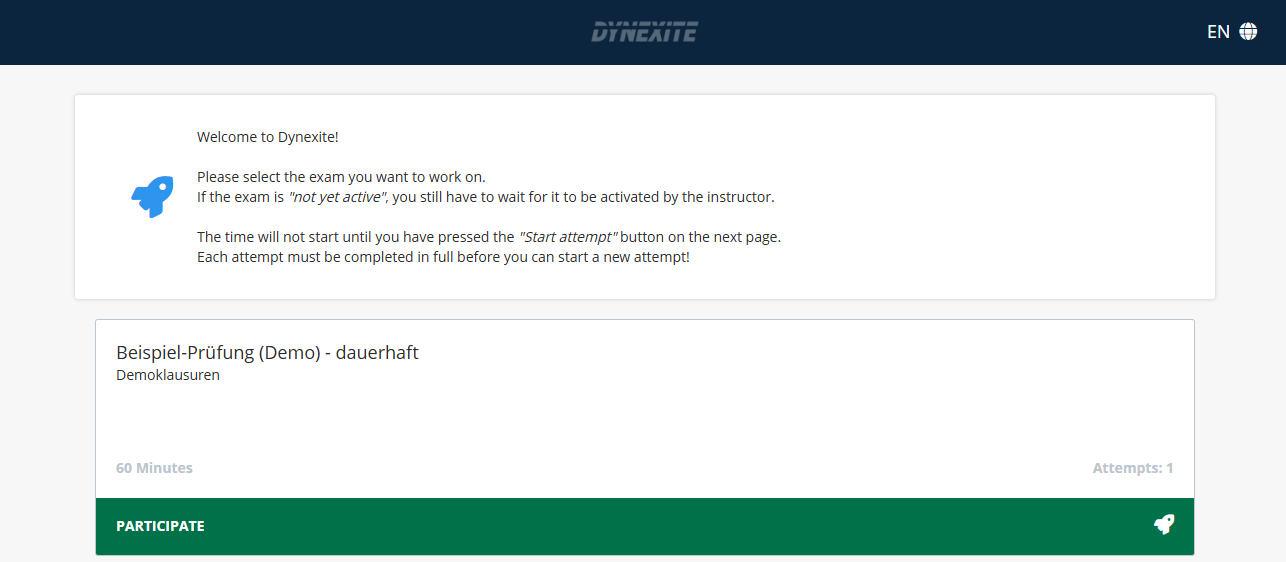
Clicking on the exam title opens the consent forms: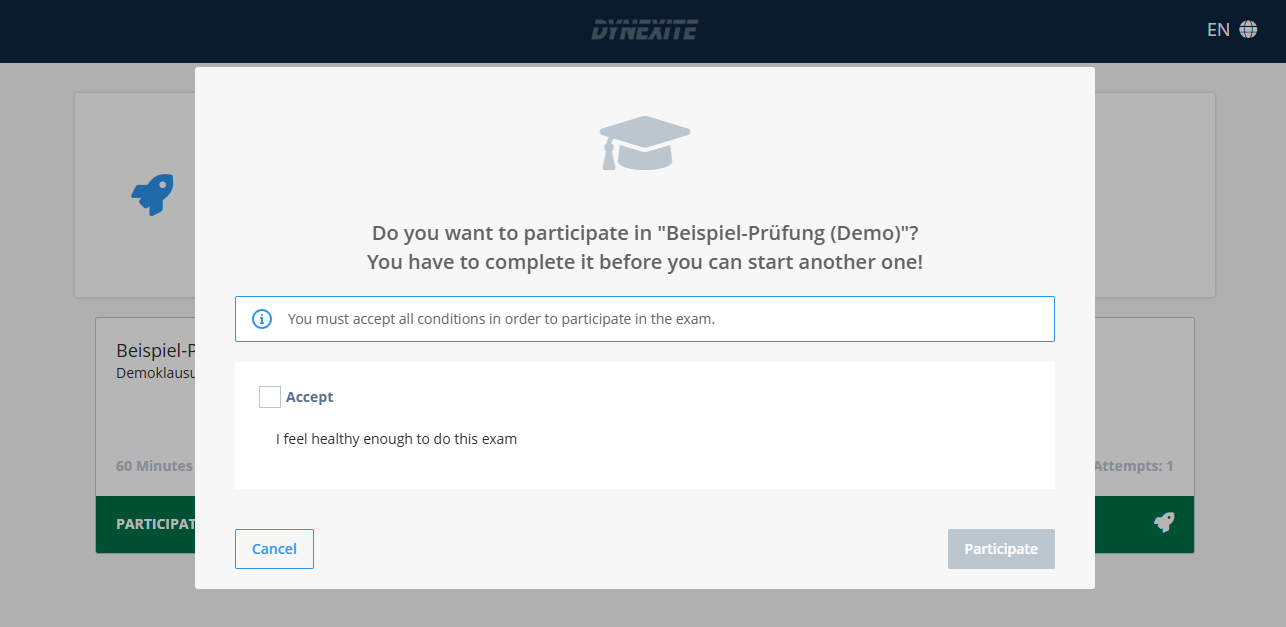
After selecting the checkboxes, Participate becomes active. Clicking it opens the next page with two possible scenarios:
¶ Scenario 1: Exam Not Yet Enabled
If the exam has not yet been enabled by a Dynexite administrator, students will see the following screen after completing the consent form: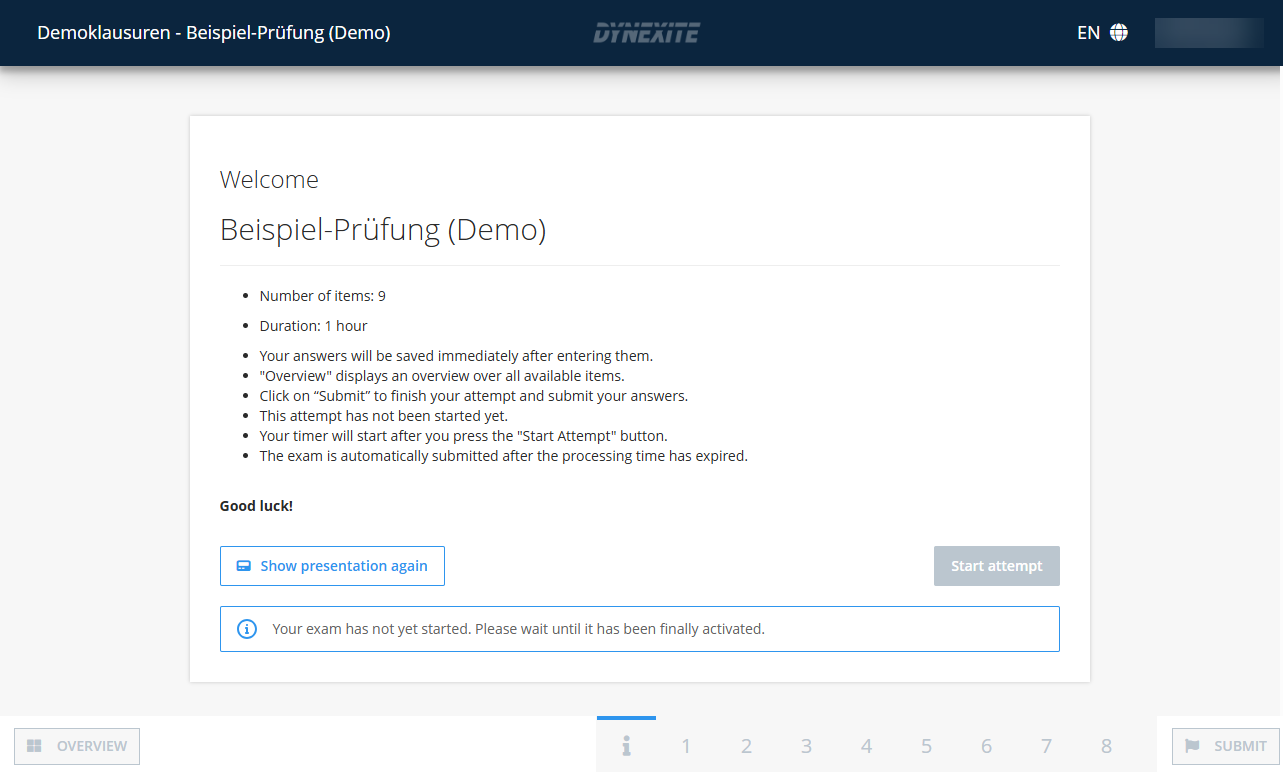
The exam should be enabled shortly. Once this happens, Start Attempt will become clickable.
¶ Scenario 2: Exam Enabled and Ready to Start
If the exam has already been enabled by a Dynexite administrator, students will see the following: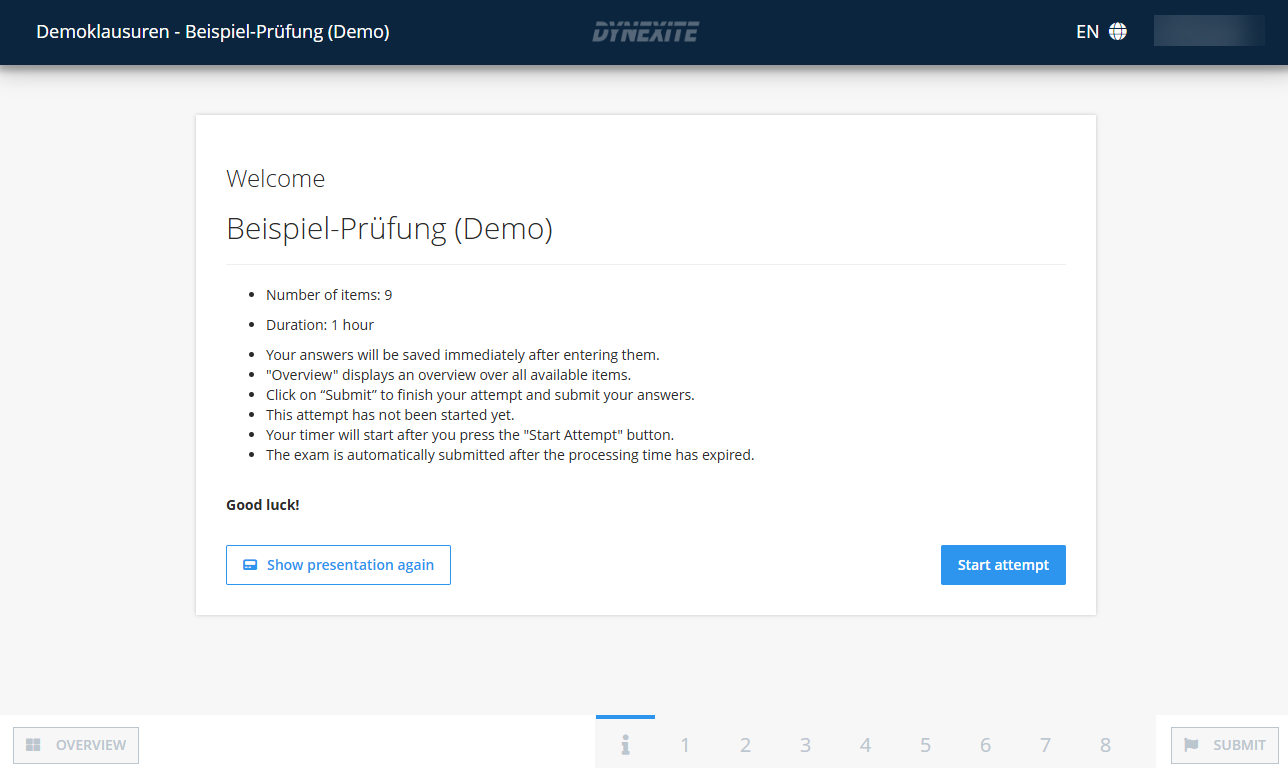
¶ Exams with a Presentation
If the exam contains a presentation, it is displayed after the consent forms and before the page for starting the exam.
- Instructor-controlled presentation: Ended by the presenter.
- Self-paced presentation: Ended by the students themselves.
¶ Start of the Exam Time
Clicking Start Attempt begins the exam and starts the individual exam time. The remaining time is displayed in the upper-right corner of Dynexite and can be hidden by clicking on it if desired.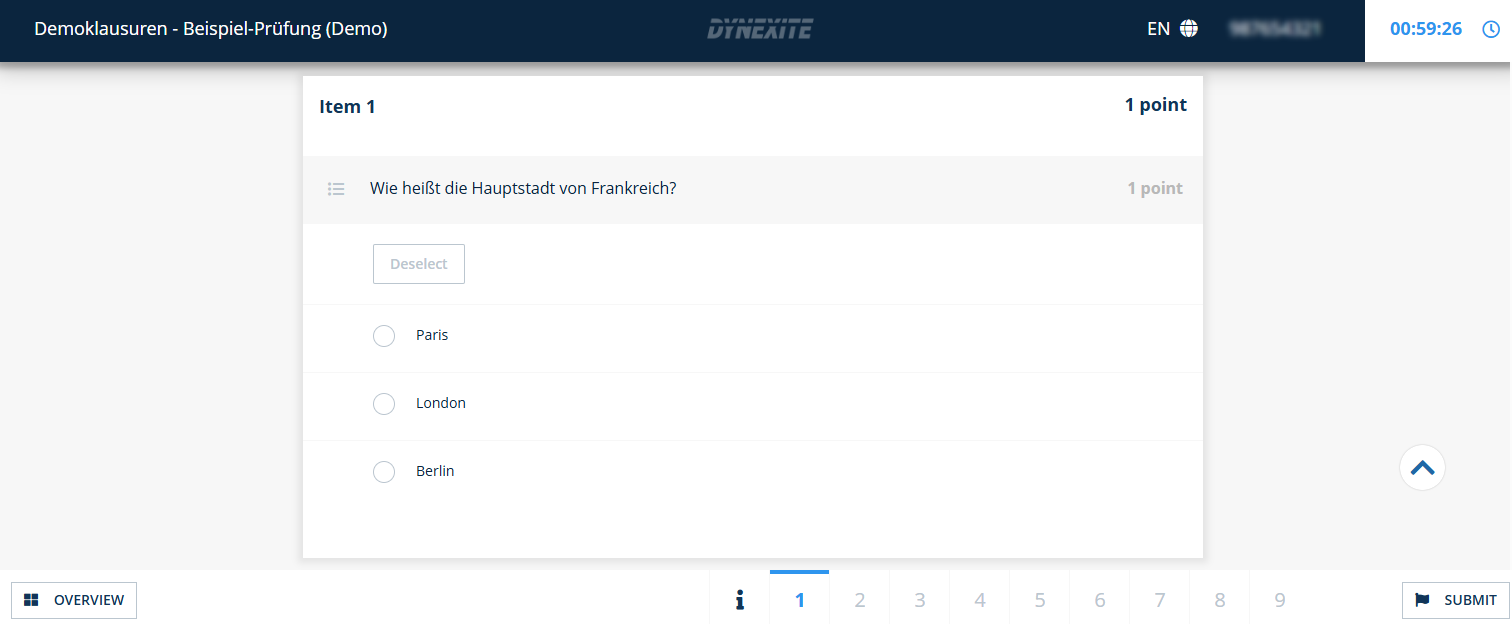
¶ Changing the User Interface Language
Before and during the exam, the user interface language can be changed at any time using the globe icon.
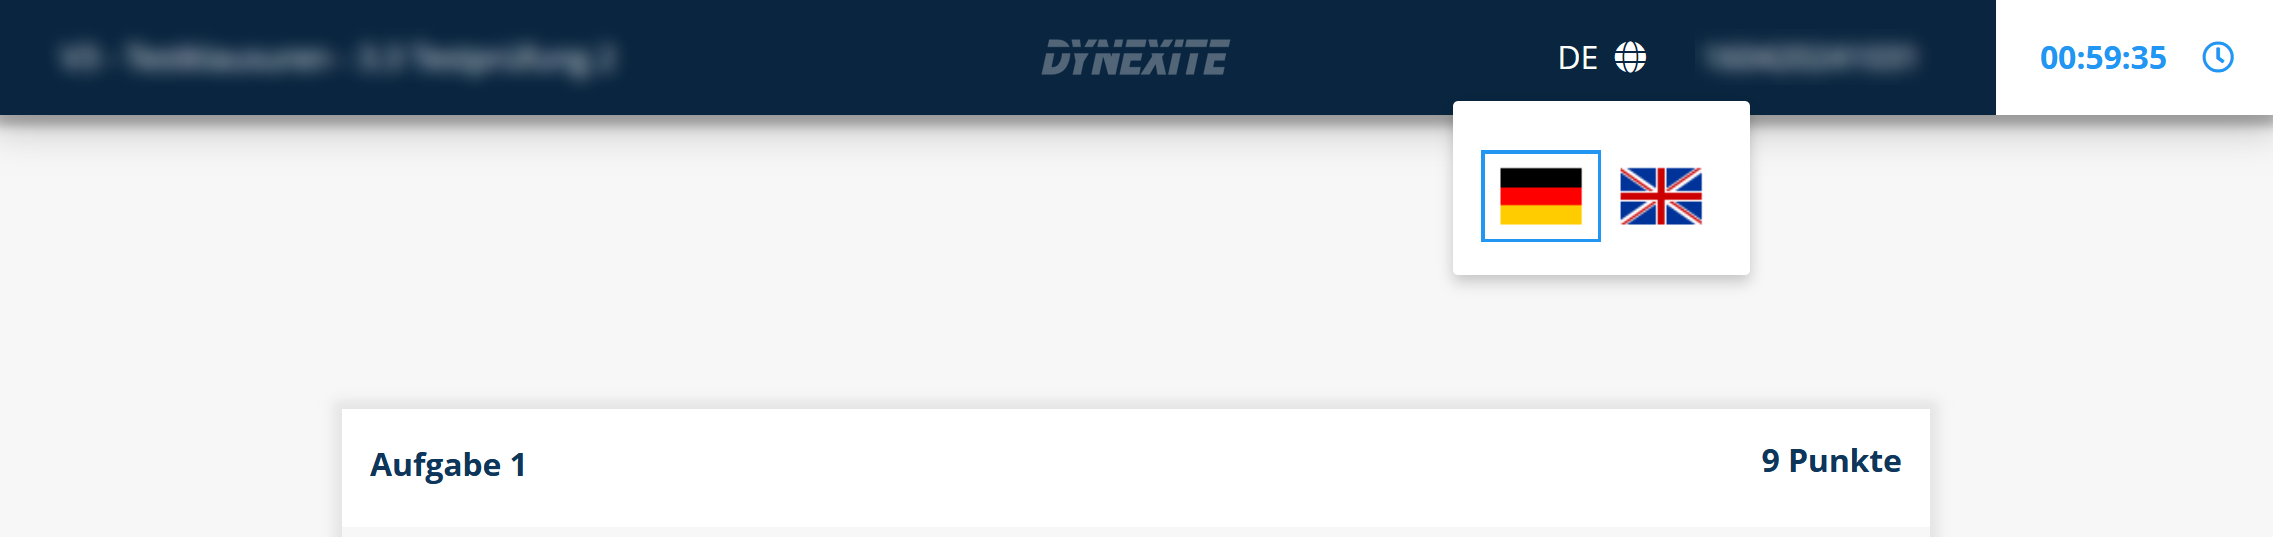
For tasks with numerical input fields, the user interface language determines whether decimal numbers must be entered using a comma (German) or a period (English).
¶ Exams with an Upload Phase
Some exams include a separate time window for uploading files (online remote exams) or scanning exam paper (exams with QuickEScan).
¶ Before the Exam Starts
The upload phase is already indicated on the participation tile:
Auch das Informationsfenster vor Prüfungsbeginn weist darauf hin: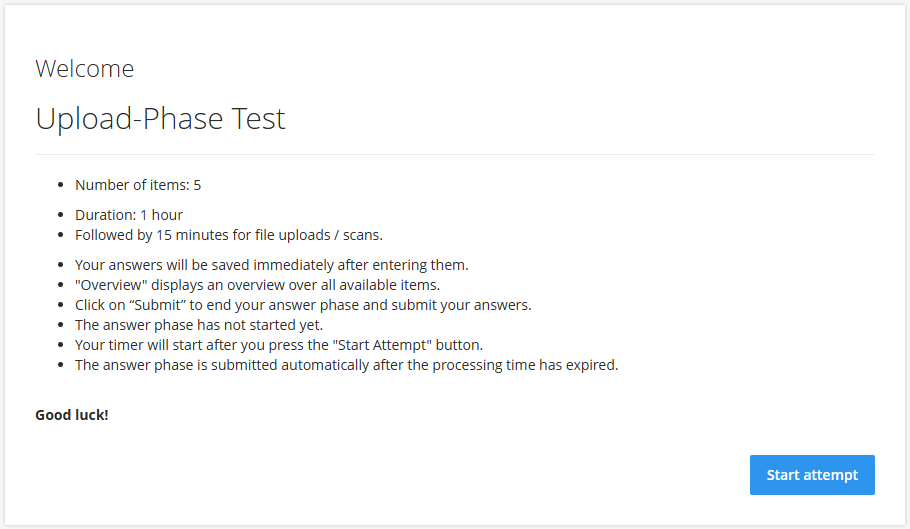
¶ During the Answer Phase
Results can technically be uploaded already during the answer phase. Therefore, upload tasks include a notice about the upcoming upload phase.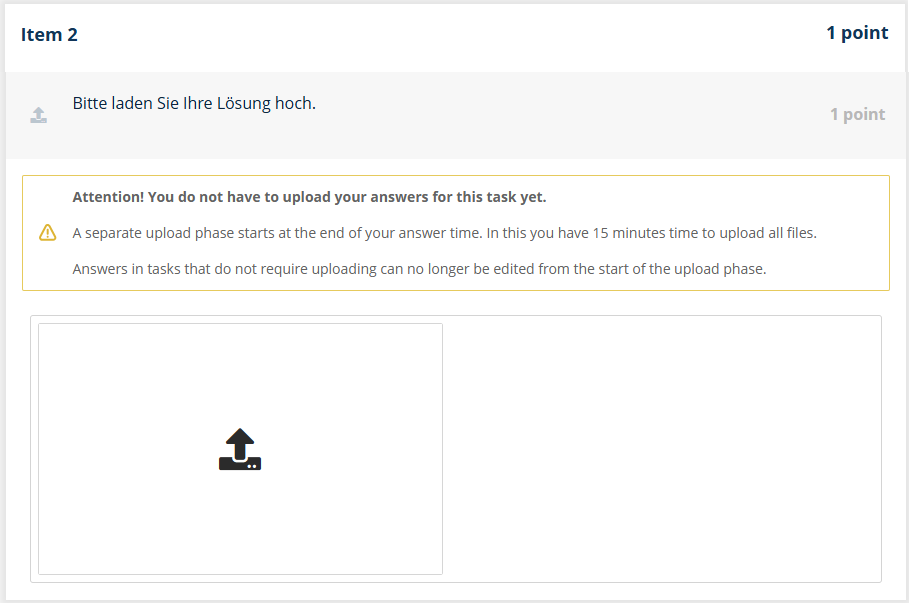
¶ Transition to the Upload Phase
After manually ending the answer phase (by clicking Submit), a reminder about the upload phase is displayed once again. The upload phase is started by clicking Start Upload Phase: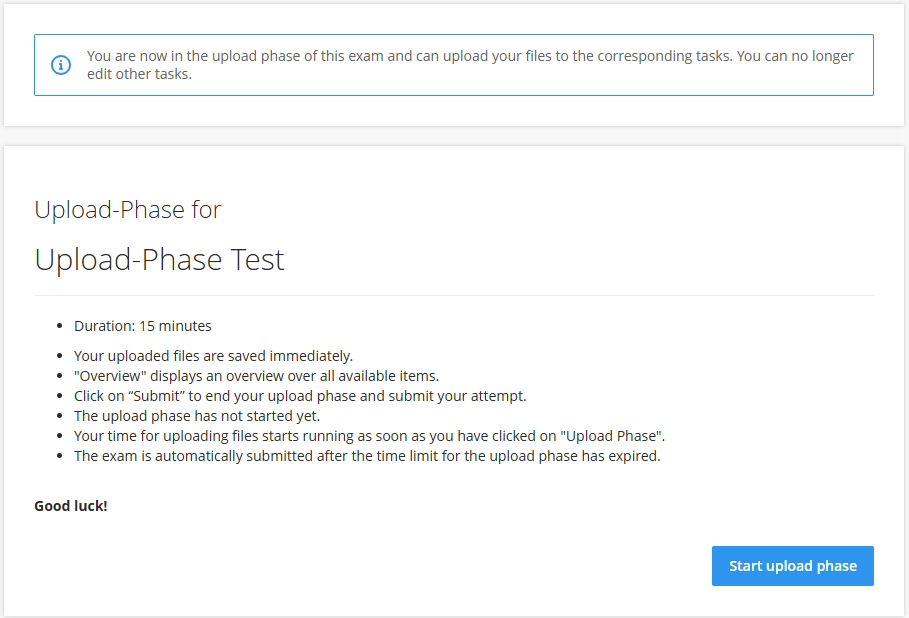
¶ During the Upload Phase
Depending on the configuration, the answers from the answer phase are either visible or hidden. These answers can no longer be modified. Only upload tasks can still be edited.
¶ Exams with QuickEScan (RWTH-Specific)
In exams using QuickEScan (QES), students independently scan their handwritten calculations, formulas, or drawings. Each exam workstation is equipped with a QES device, and special exam paper is provided.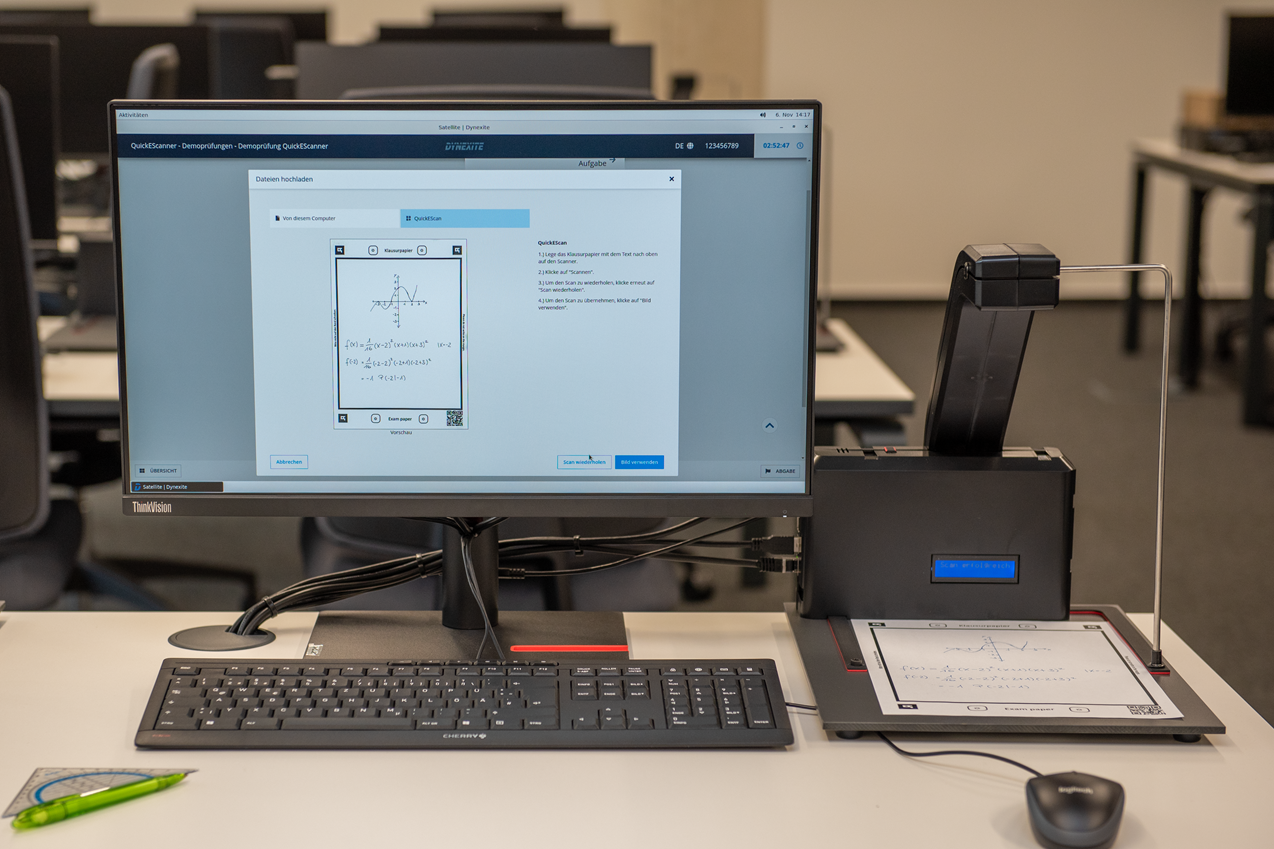
¶ Example Task
For a task using QuickEScan, the solution is written by hand on exam paper and then scanned.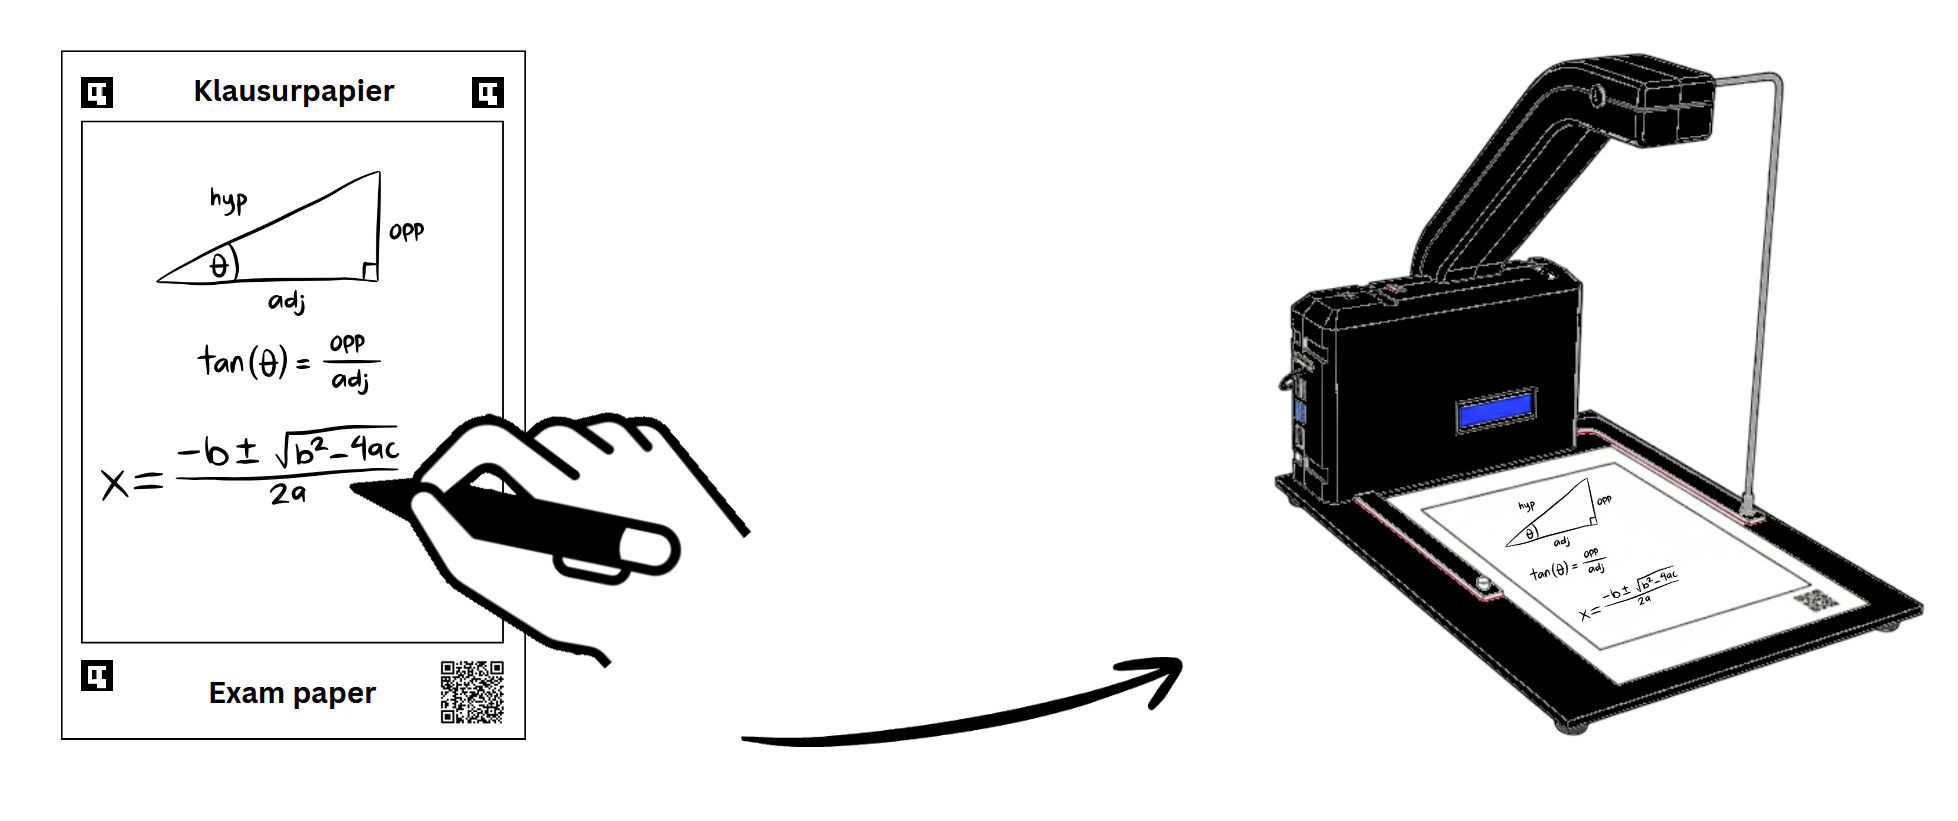
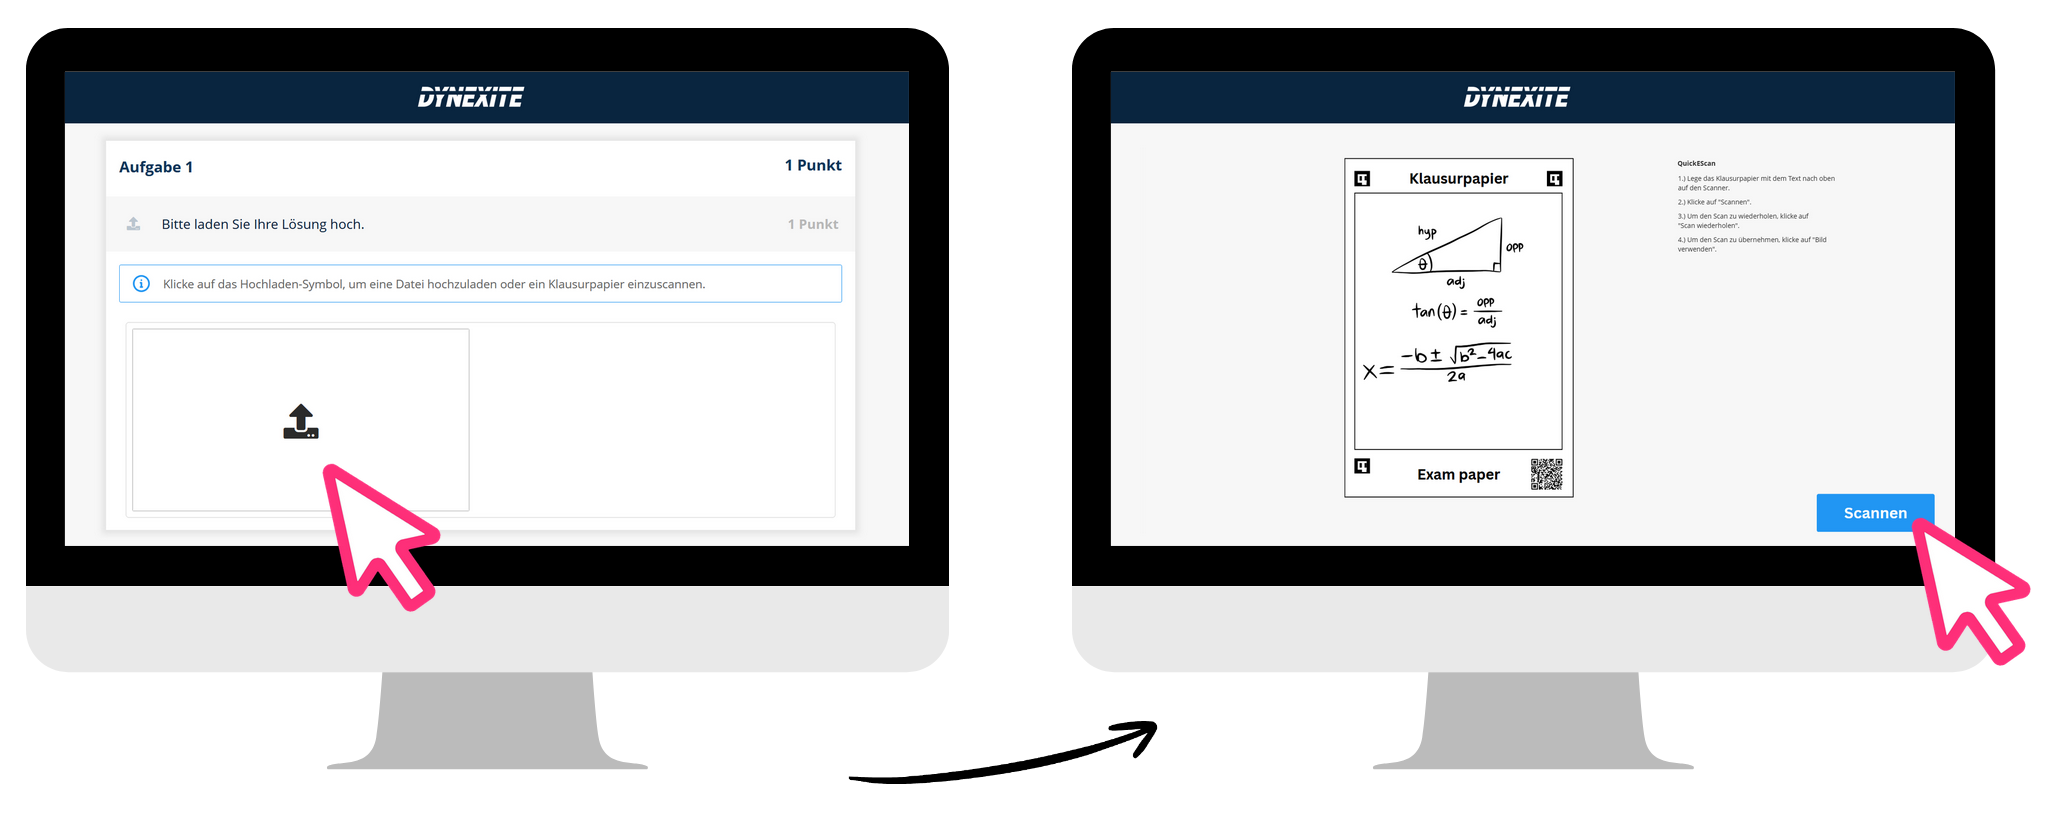
In Dynexite, tasks that require uploads can be identified by the symbol  . The workflow in Dynexite is as follows:
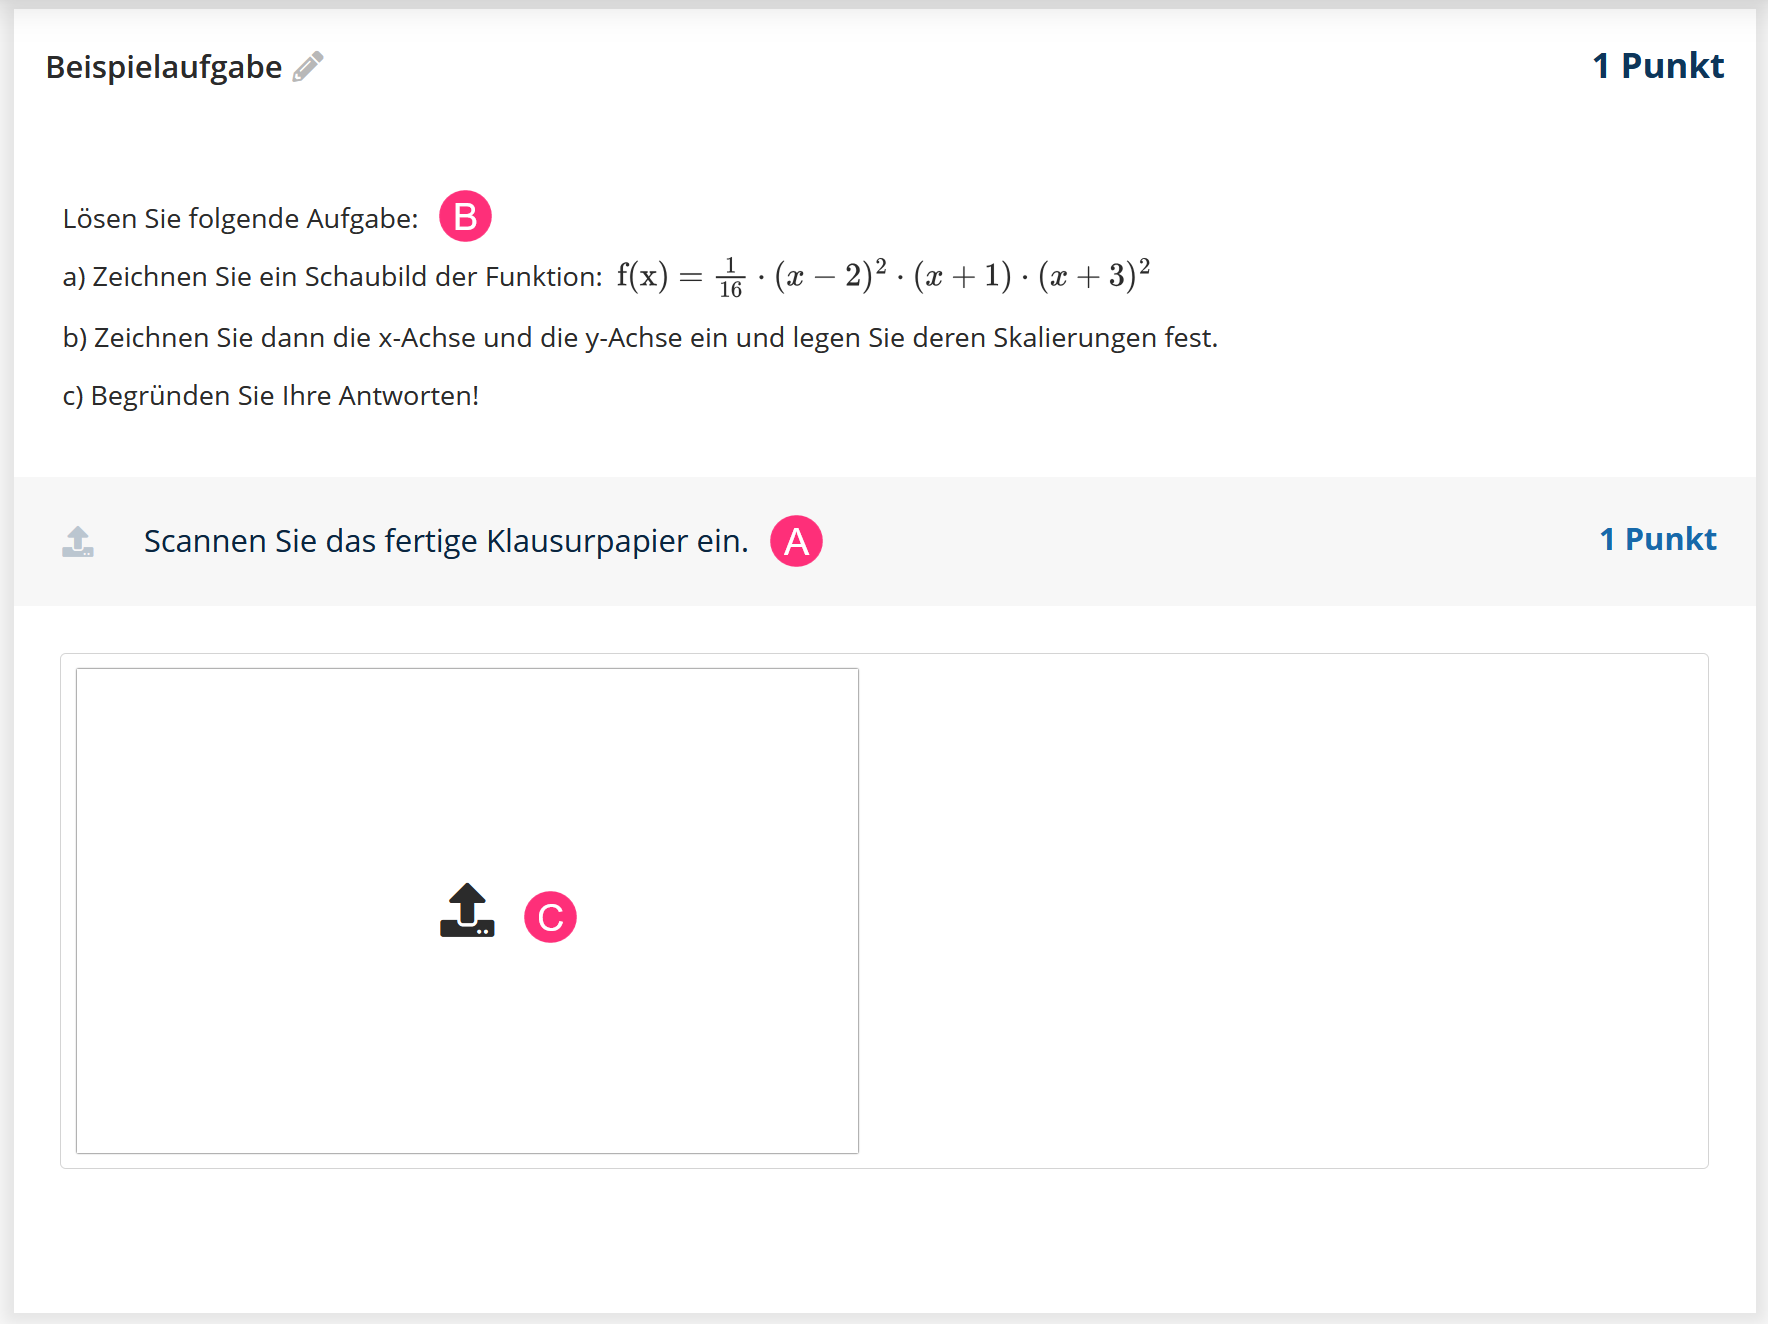
- (A): Task description
- (B): Additional information about the task
- (C): Upload area
¶ Scanning Process
1. Start Upload:
Clicking the upload area opens the scanning menu, which guides students step by step through the scanning process:
2. Place the Exam Paper:
The exam paper needs to be placed on the scanner with the printed side facing up.
3. Scan:
Clicking Scan creates an image of the exam paper. A preview will appear after 3–4 seconds.
4. Review the Preview:
- If the result is unsatisfactory, make adjustments and scan again by clicking Repeat Scan.
- If the result is satisfactory, click Use Image. The window will close automatically.
5. Scan Appears in the Task:
The scanned exam paper is displayed directly within the task.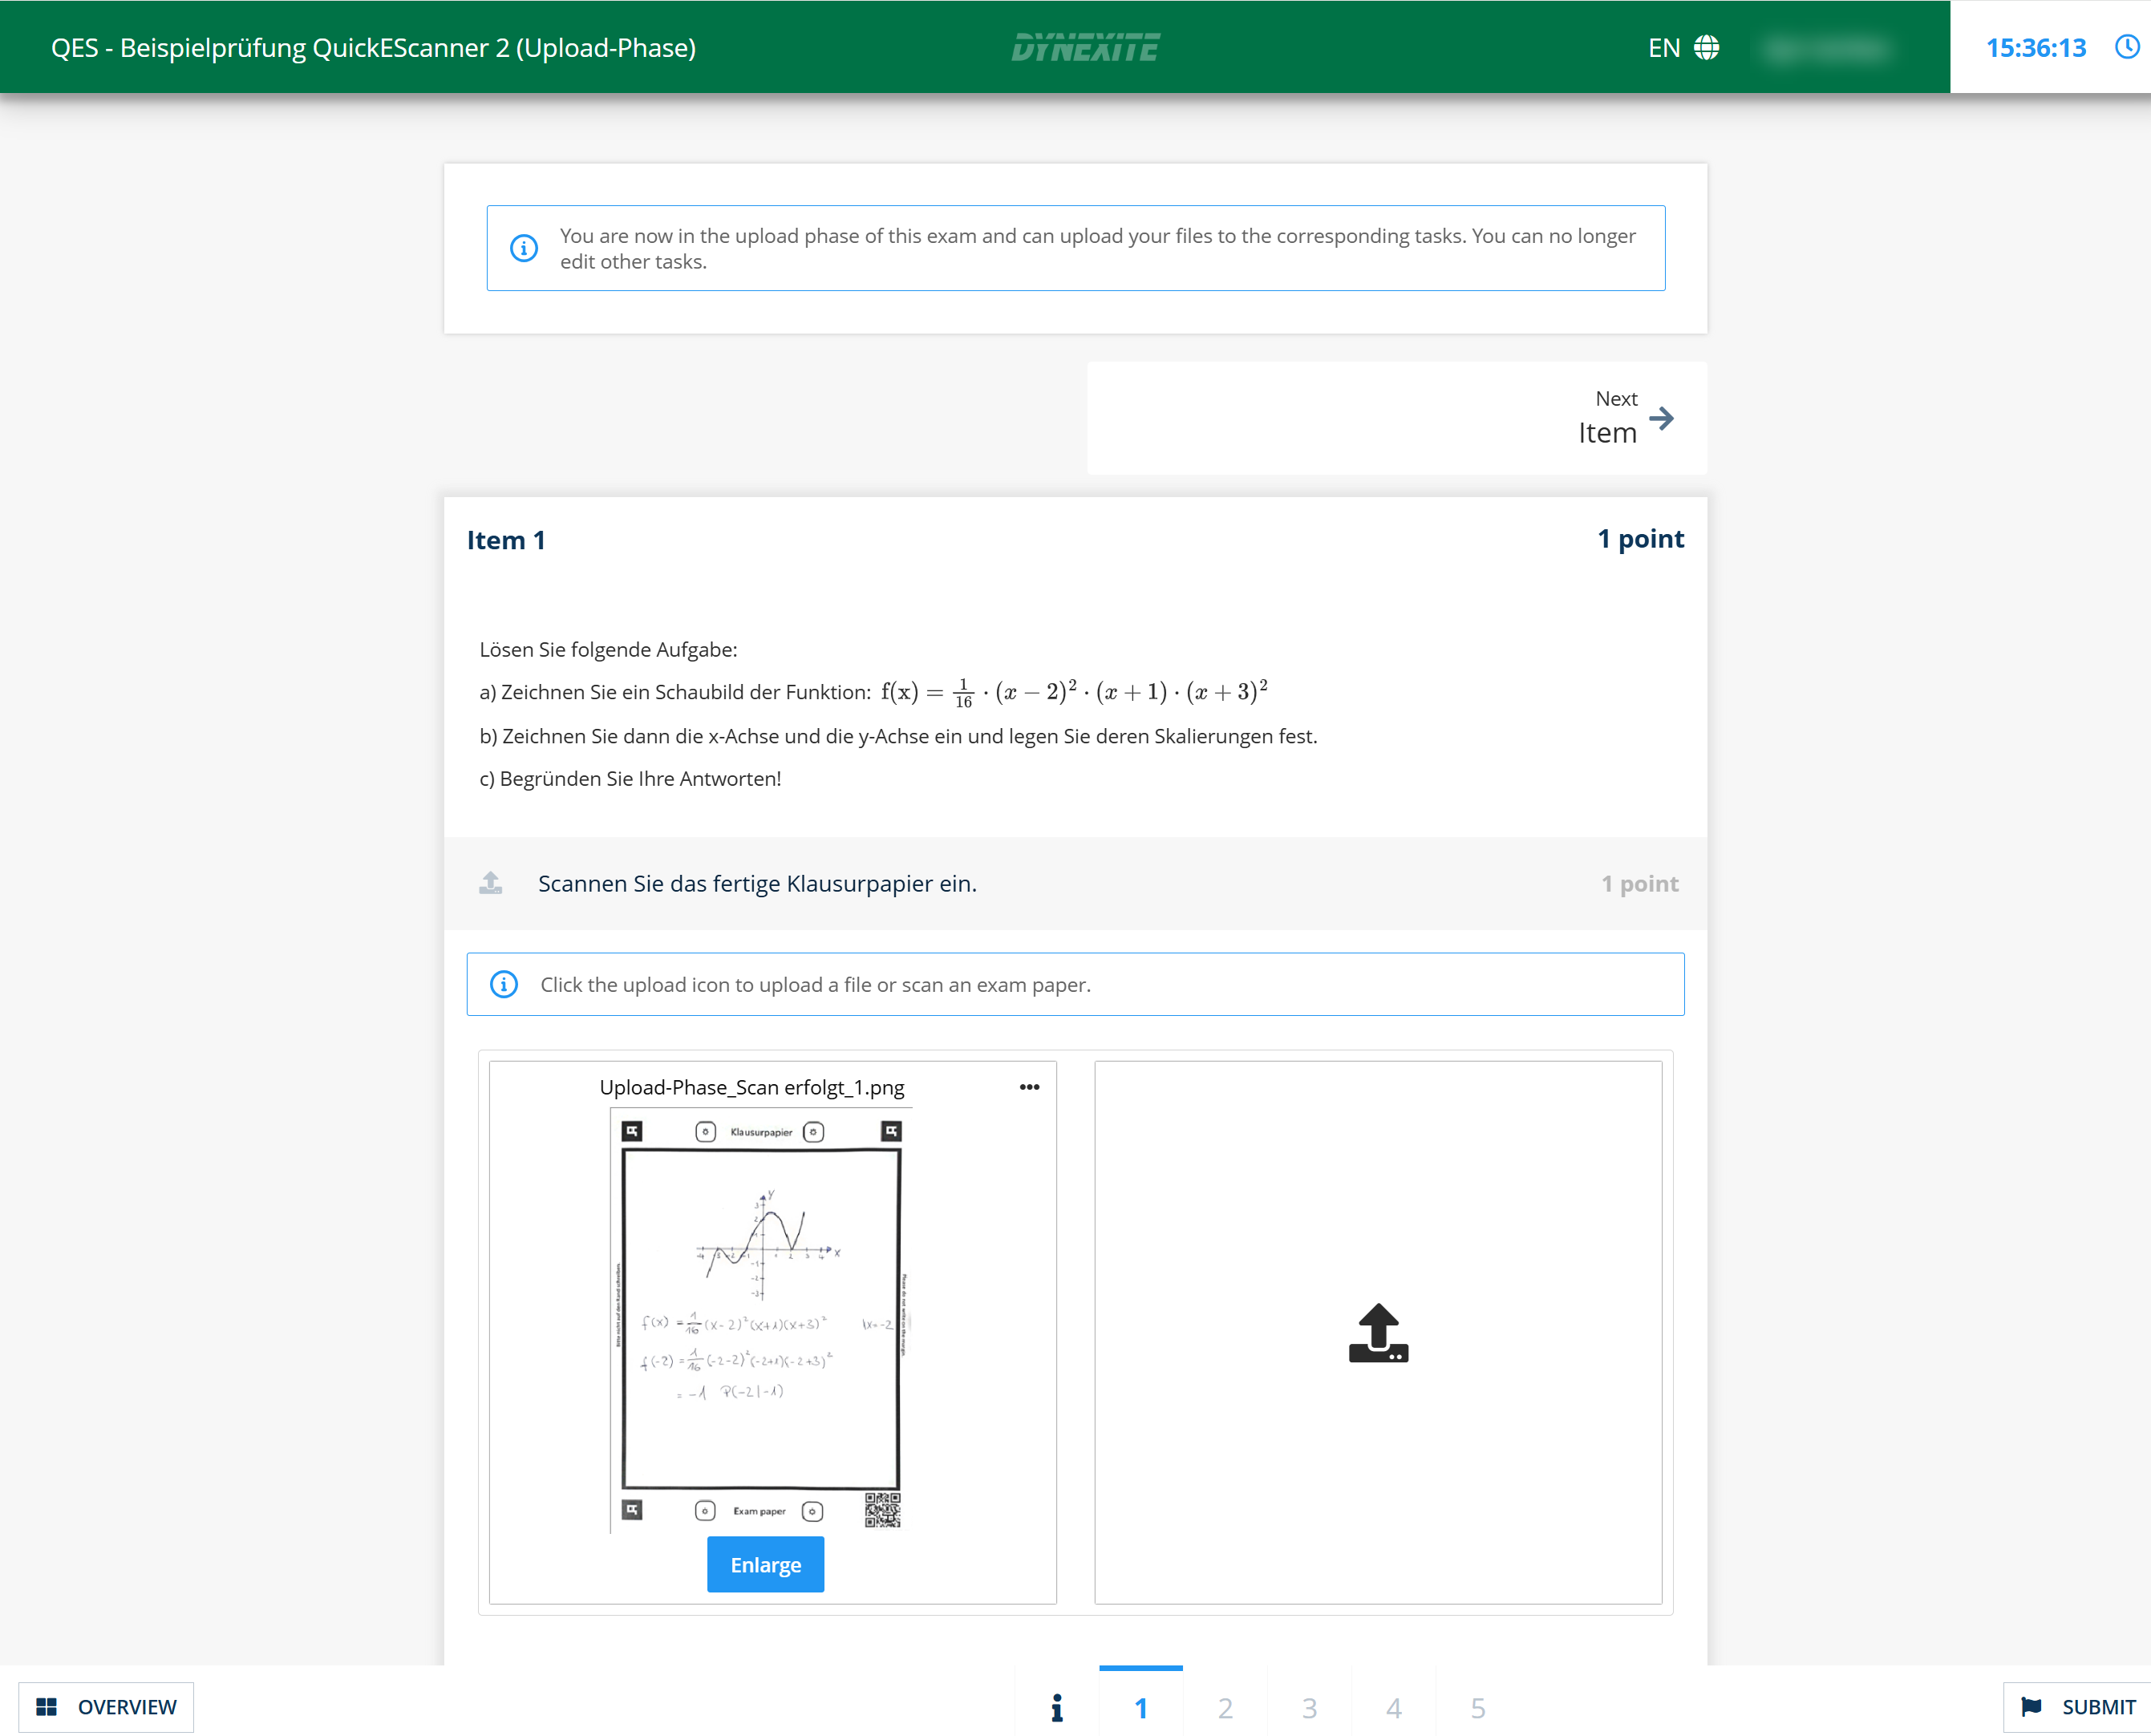
¶ Additional Notes
- Multiple Scans per Task: Multiple sheets of exam paper can be scanned for a single task. Each new scan is initiated by clicking the upload icon.
- Enlarge: Clicking Enlarge opens an enlarged version of the scanned paper.
- Delete: A scan can be deleted using the … menu in the upper-right corner if it should not be submitted.
Exams with QuickEScan are generally divided into an answer phase and an upload phase.
This means that scans can already be created during the answer phase; however, a dedicated time window for scanning is provided during the upload phase. Detailed information can be found under Upload Phase.
¶ Scanning Guidelines for Exam Paper
- Writing is only permitted within the black border.
- The exam paper needs to be placed on the scanner with the printed side facing up and the QR code in the lower-right corner.
- If the QR code is covered or creased, the scanning process may fail.

Example exam paper (RWTH-specific design, as of September 2025)
¶ File Upload Tasks: Online Remote Exams
A file upload task appears as follows for students:
After clicking the upload area…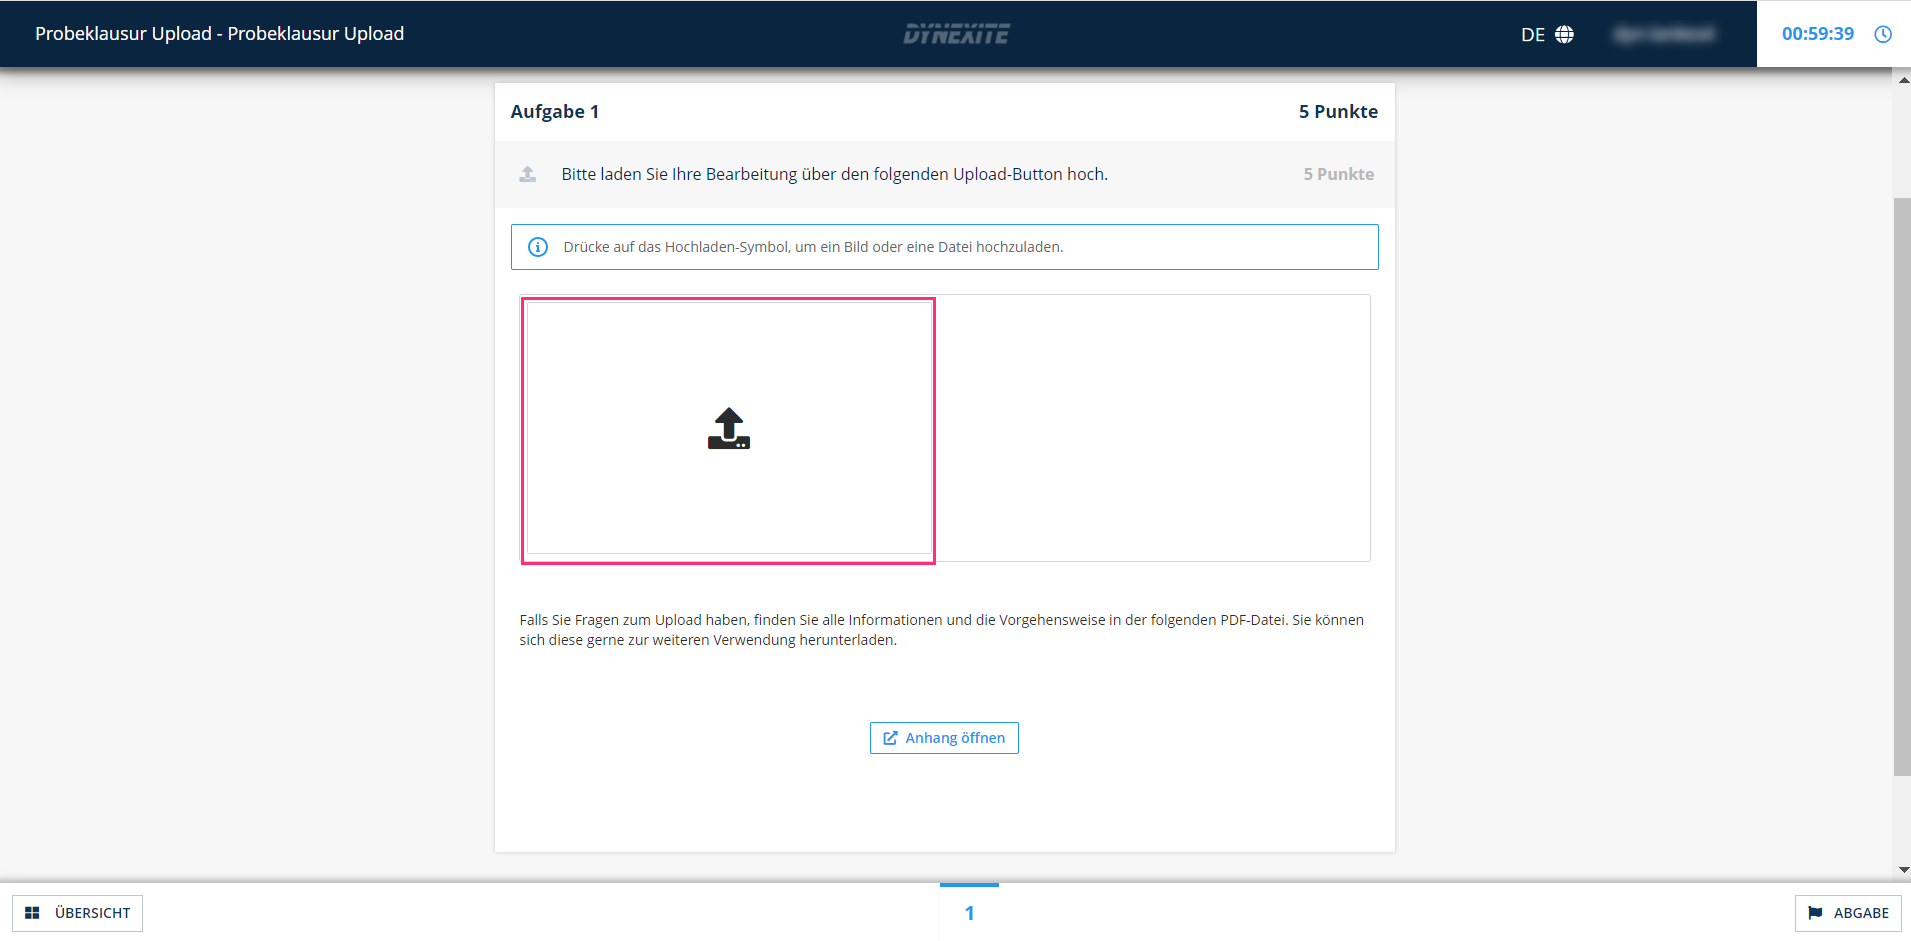
…the Upload Files view opens:
From here, students can:
- Upload photos from a smartphone via the Telescope App (B) (RWTH-specific information).
- Upload photos from a local computer using From This Computer (A).
¶ Upload via Telescope App (RWTH-Specific)
When uploading exam documents via the Telescope app, the steps shown in the highlighted box must be followed: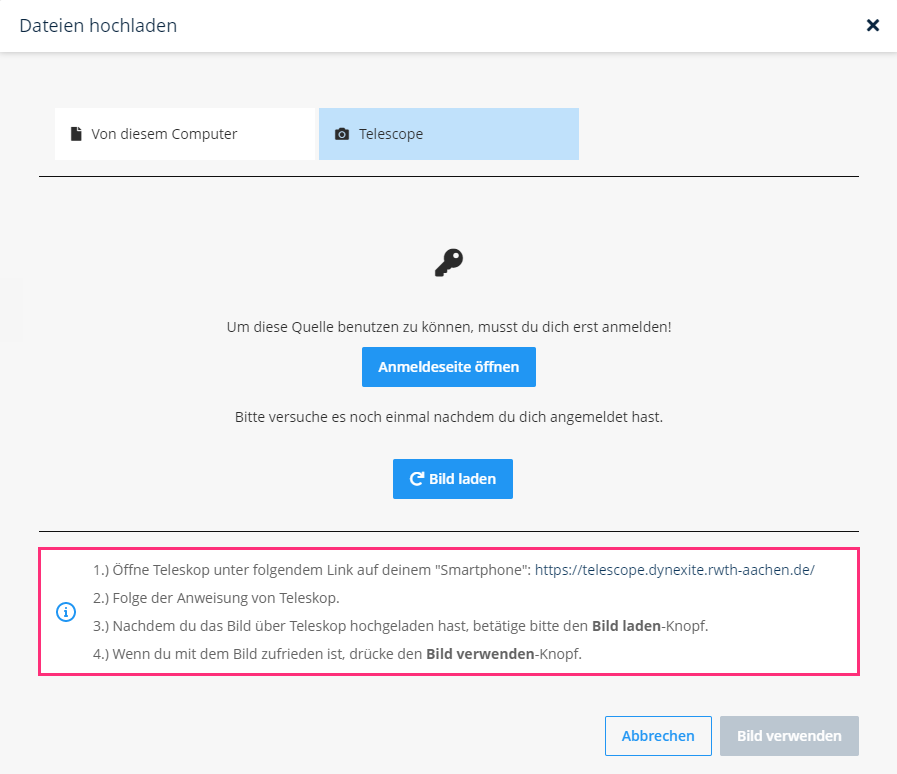
¶ Step 1: Log in to the Telescope App
1.: Open the following URL in the smartphone browser: https://telescope.dynexite.rwth-aachen.de.
2.: Log in using RWTH Single Sign-On (TIM account).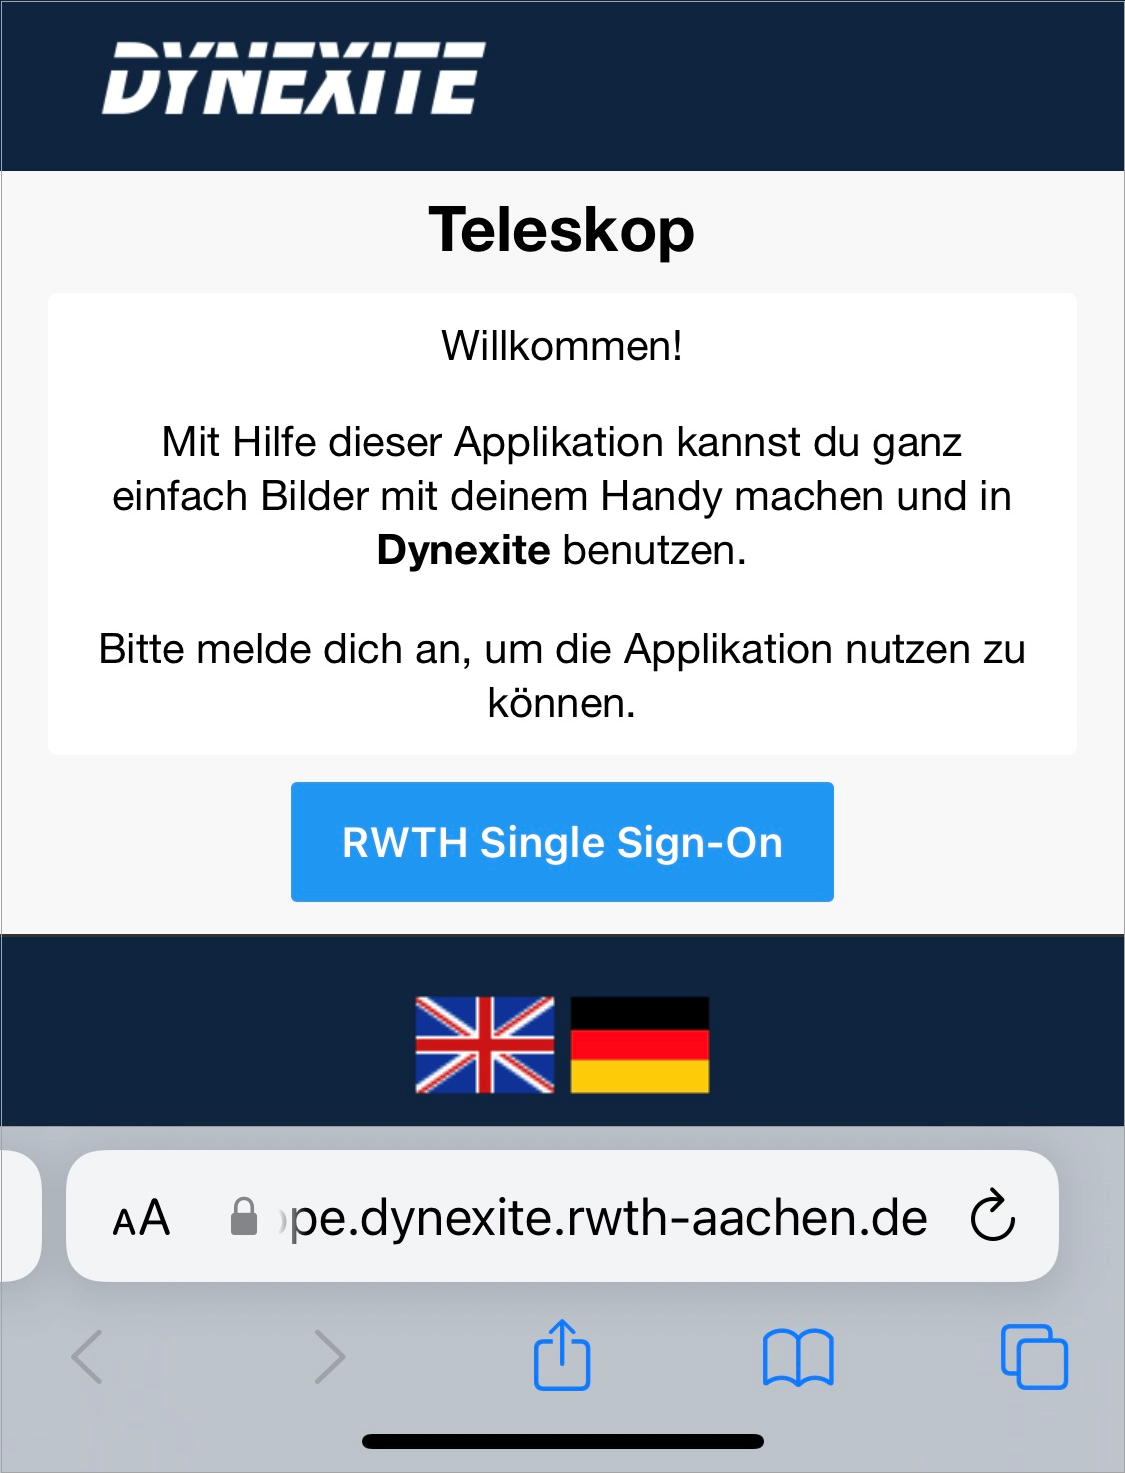
After logging in, the Telescope app home page opens with instructions for image upload: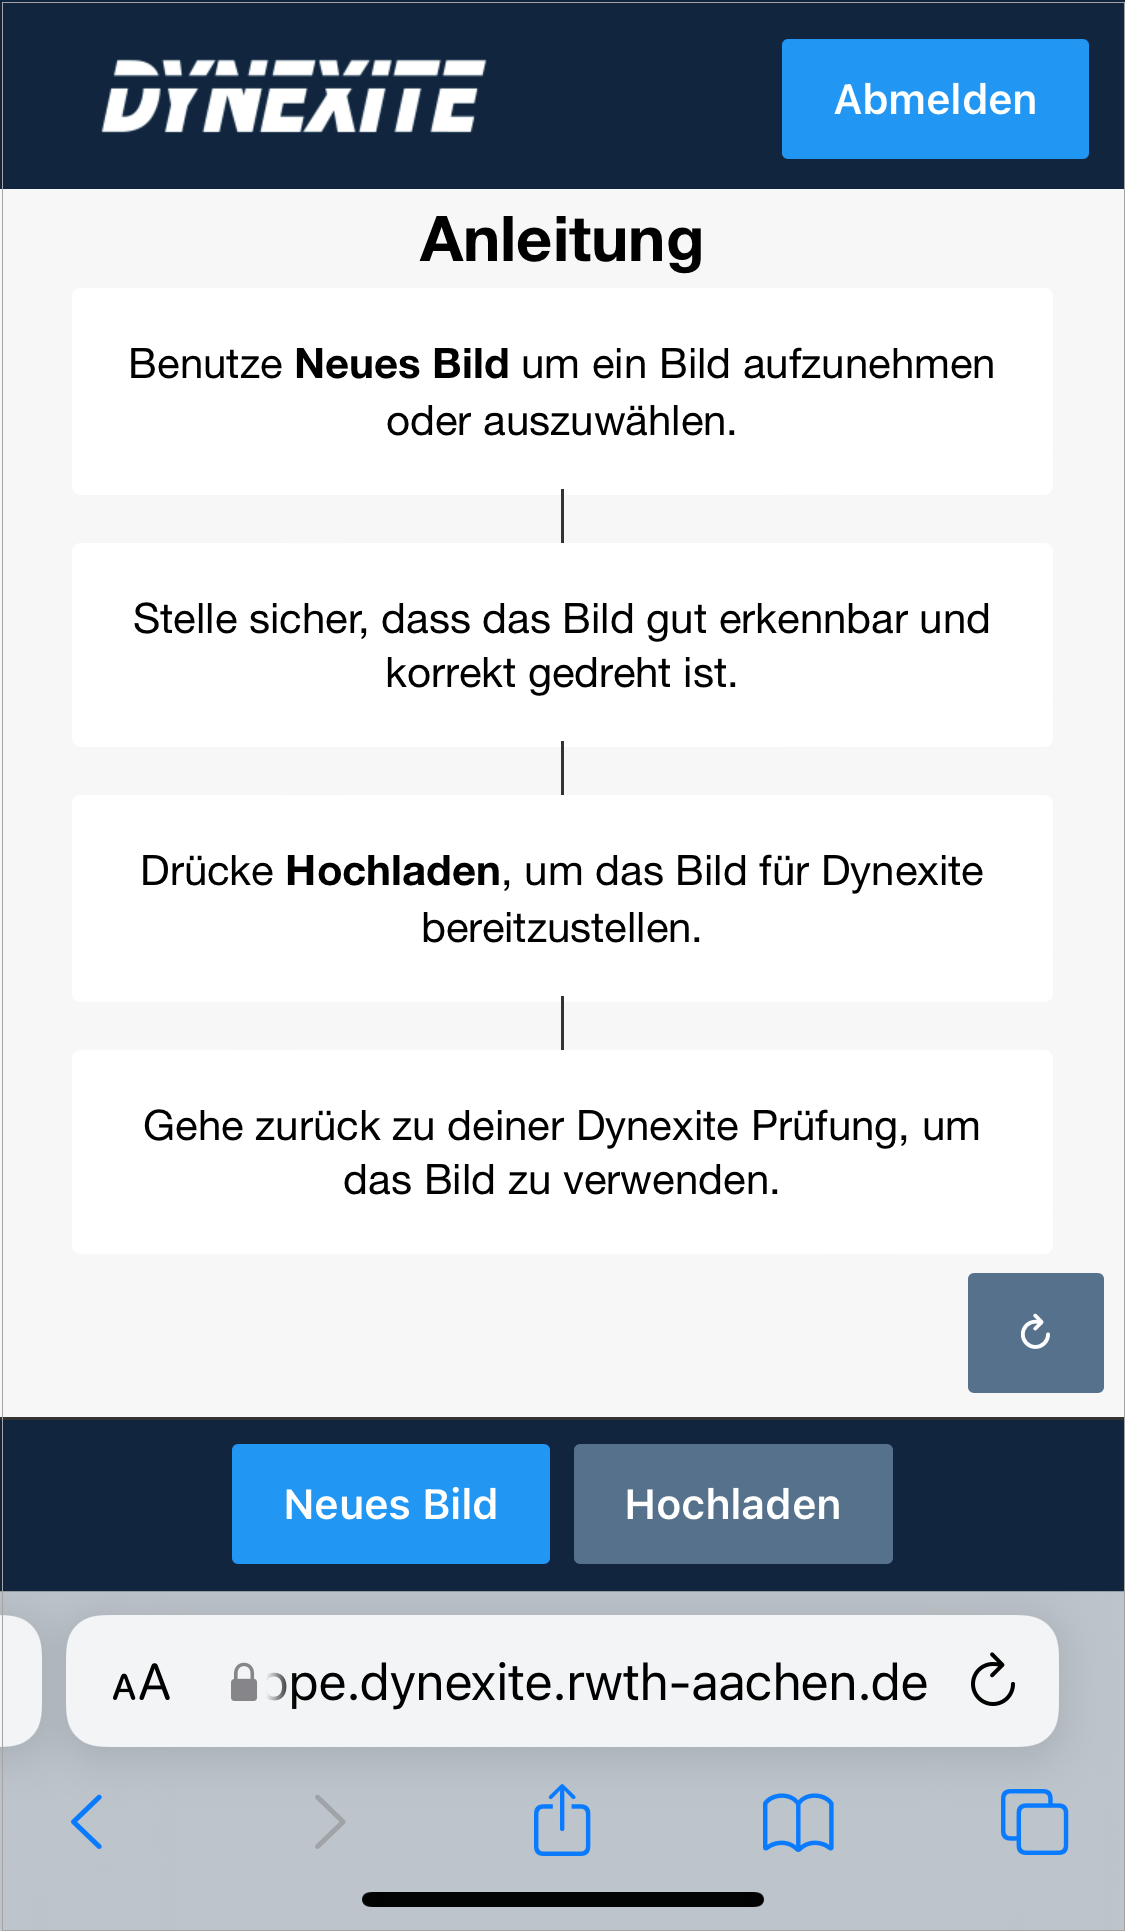
¶ Step 2: Take Photo and Upload
1.: Tap New Image; this opens the smartphone camera app.
2.: Take a photo of the exam documents.
3.: The image is displayed in the Telescope app. The rotation can be adjusted using the circular arrow. By tapping New Image again, a photo can be discarded and retaken.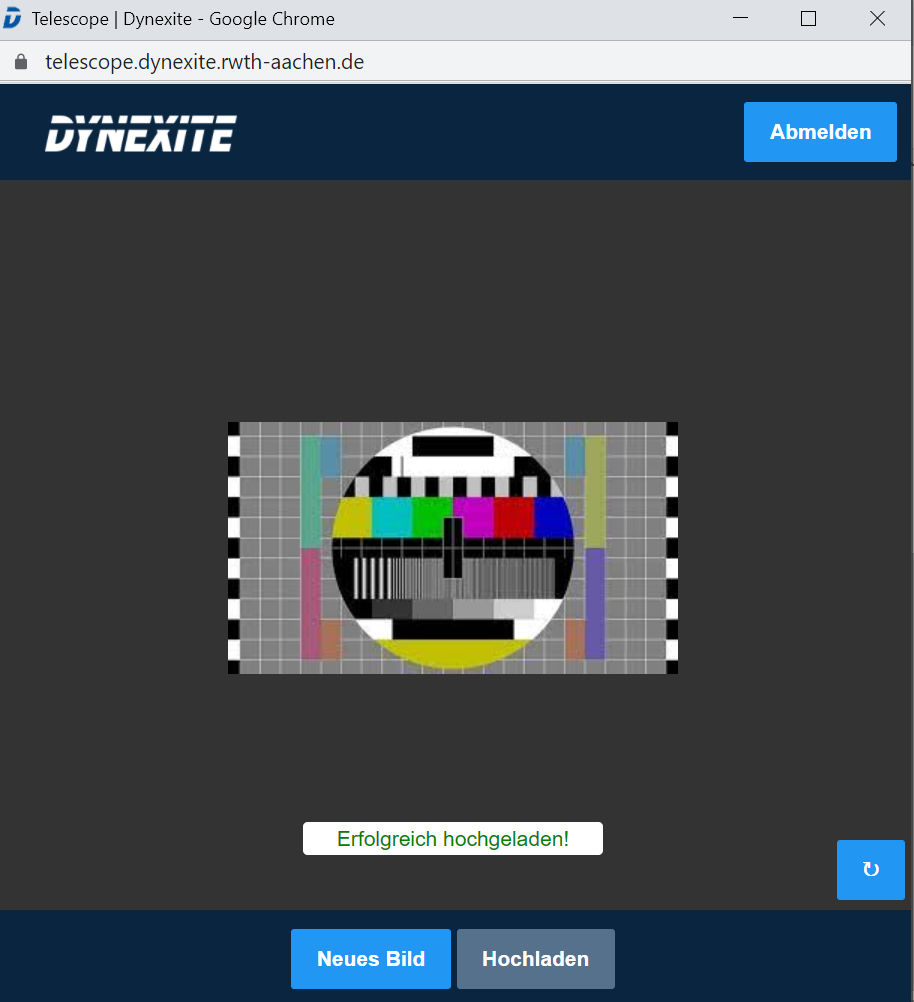
4.:Tap Upload to make the photo available in Dynexite; it will then appear in the exam task.
5.: Additional photos can be added by tapping Upload again.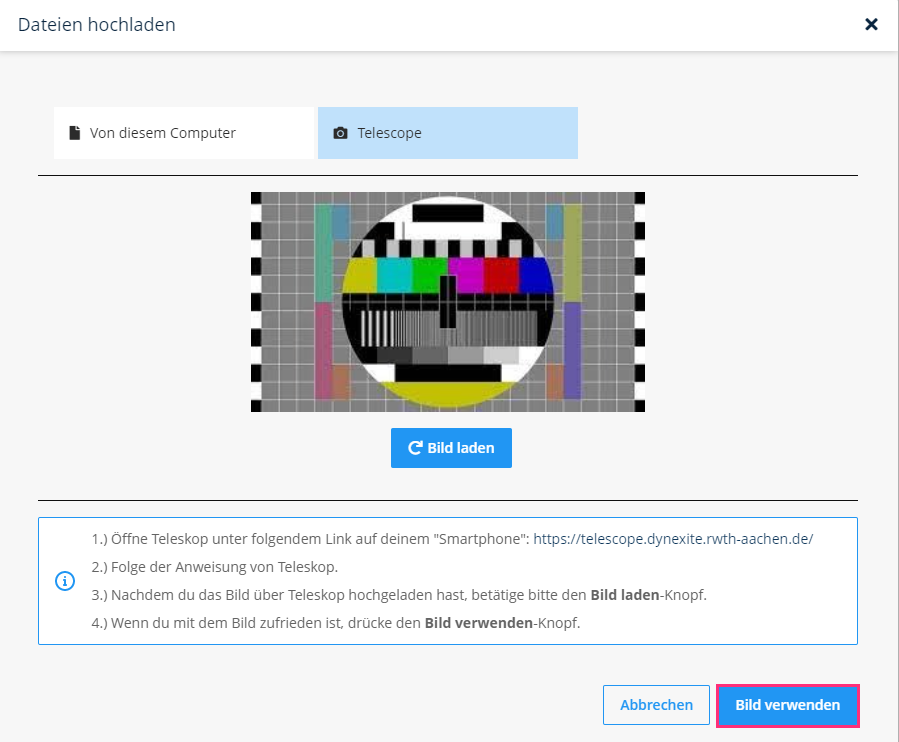
¶ Step 3: Load Image into the Exam
On the PC in the exam, click Load Image to import the photo previously uploaded via the Telescope app.
In rare cases (e.g. students without a matriculation number, such as doctoral candidates), an additional login step may be required. After clicking Open login page, a login window appears where authentication via RWTH SSO must be performed again – similar to the process on the smartphone.
¶ Step 4: Review and Use Image
The uploaded image is displayed and can be reviewed. If it should be used, click Use Image. Only then is the image permanently saved in the exam.
¶ Upload from Local Computer
Clicking From This Computer opens a window in which students can select the desired file on their device. The uploaded file (e.g., a PDF) is then displayed in the task as shown below:
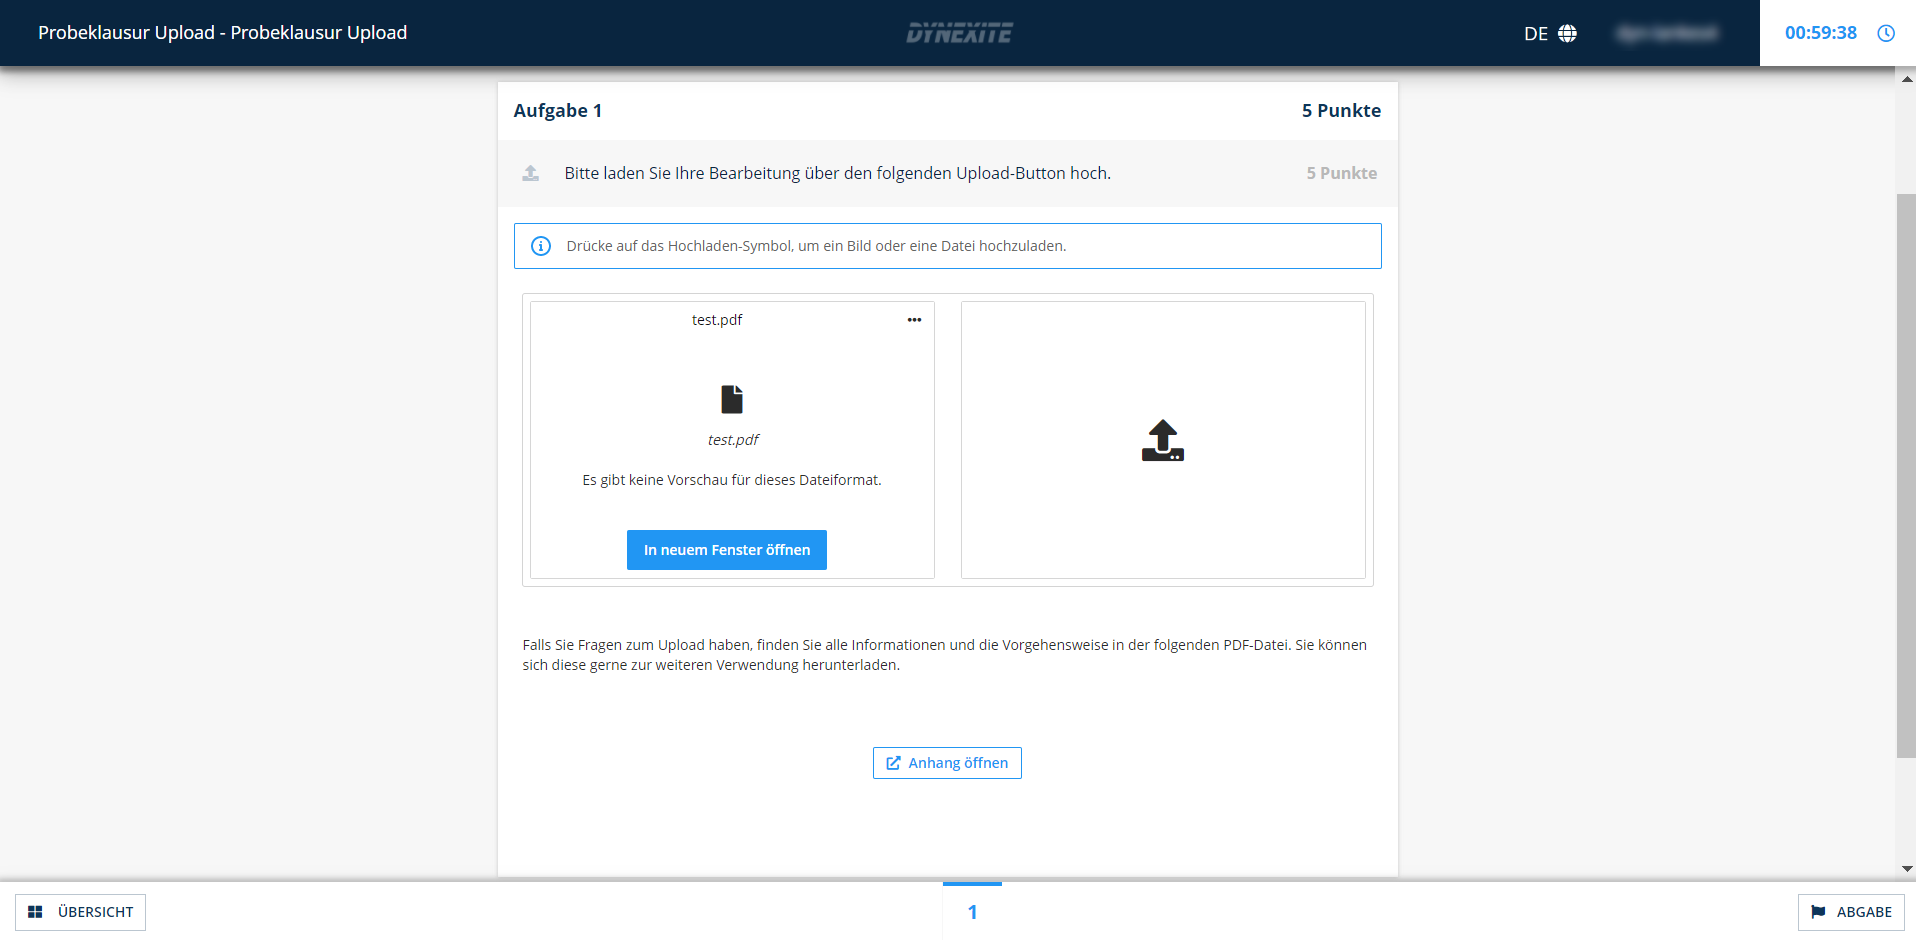
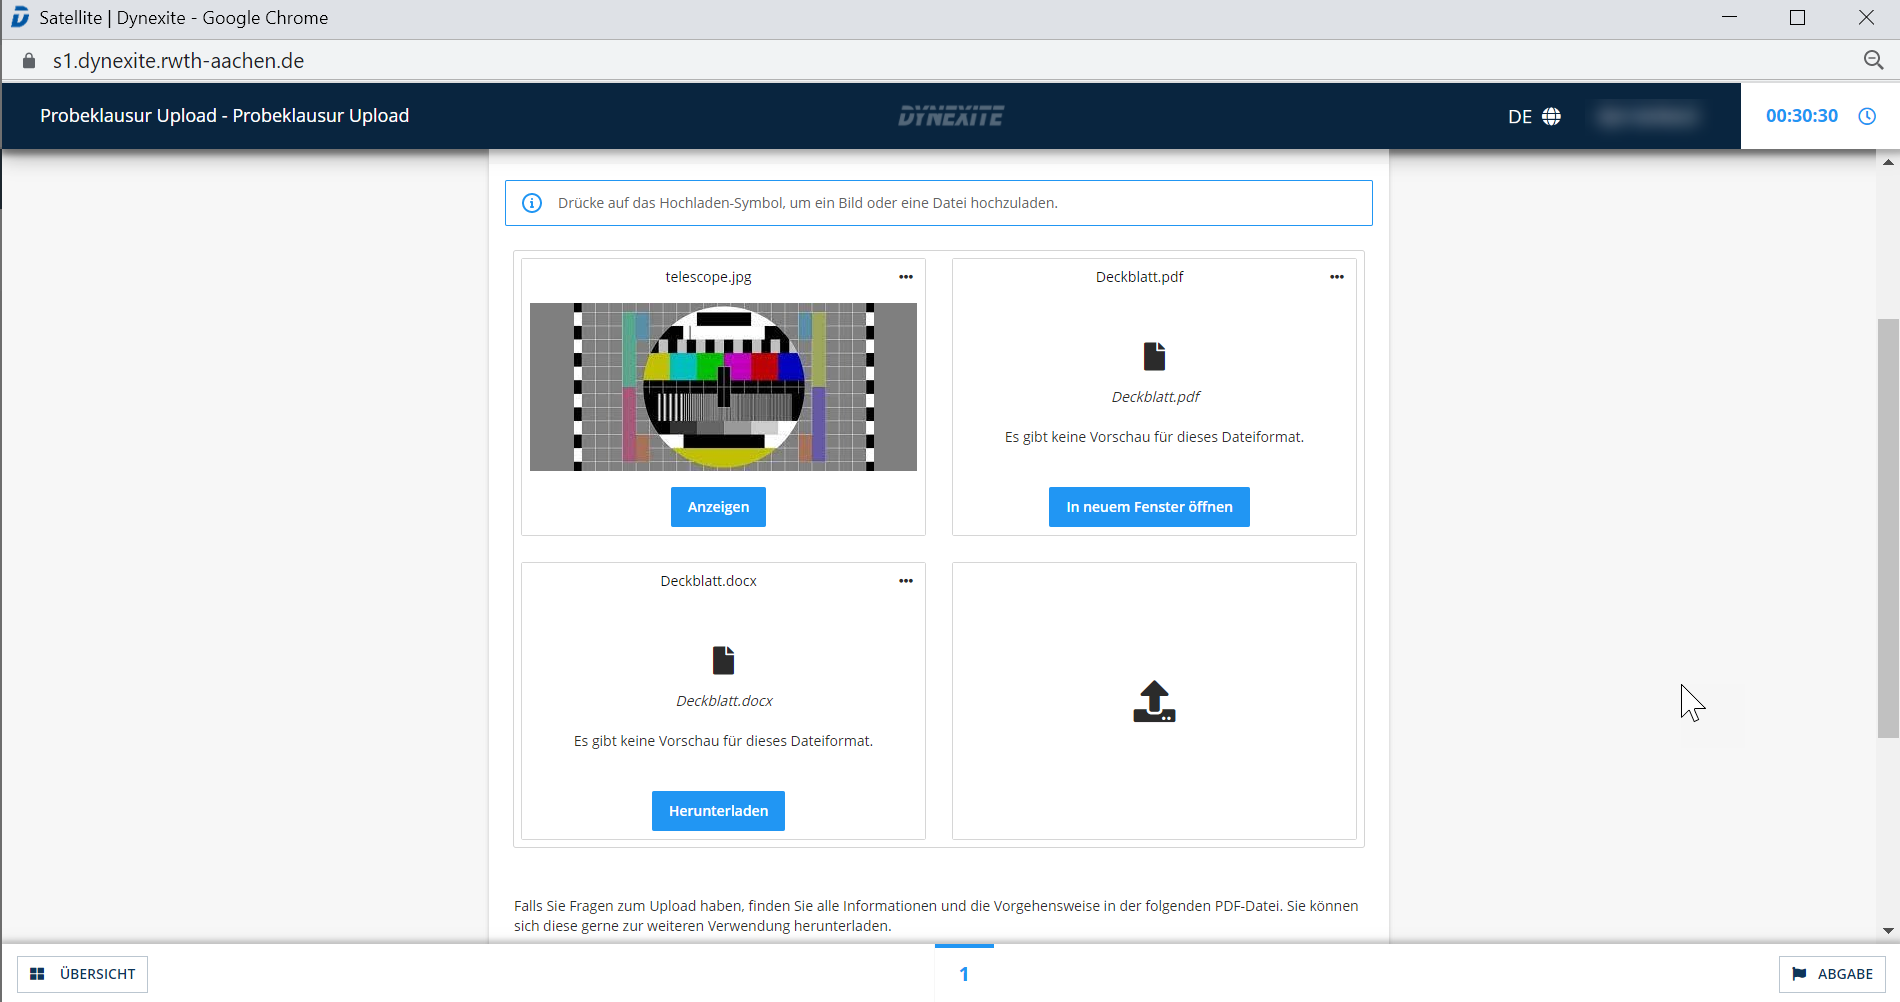
¶ After Upload
The screenshot shows how different file formats - e.g. images, PDF, or DOCX - are displayed in a file upload task after being uploaded:
¶ Calculator
If students are allowed to use calculators, this must be coordinated before the start of the exam by the chair staff together with the on-site member of the e-exam team (RWTH-specific information).
If calculators are enabled on the exam computers, a desktop view appears after pressing the Windows key, showing the icon for the Calculator application.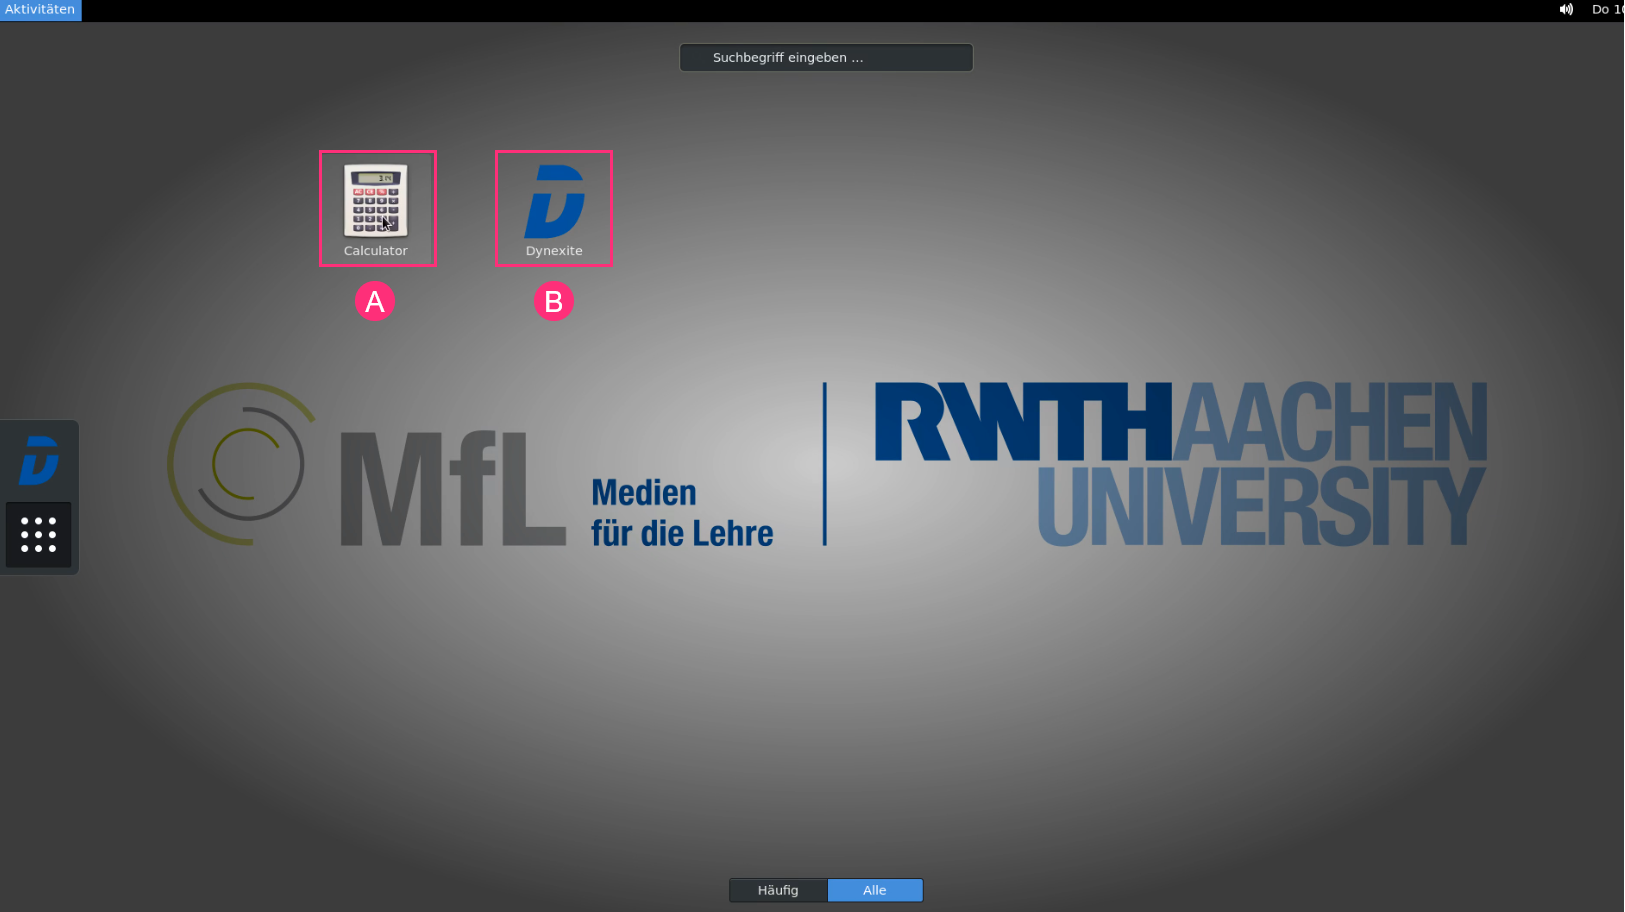
- (A): Open calculator
- (B): Return to the Dynexite exam
The calculator offers the following modes:
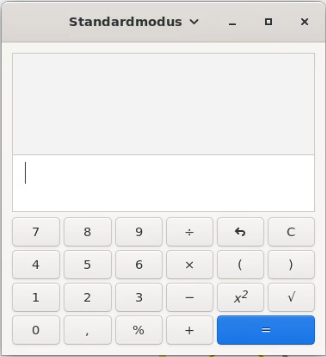
Standard mode

Advanced mode
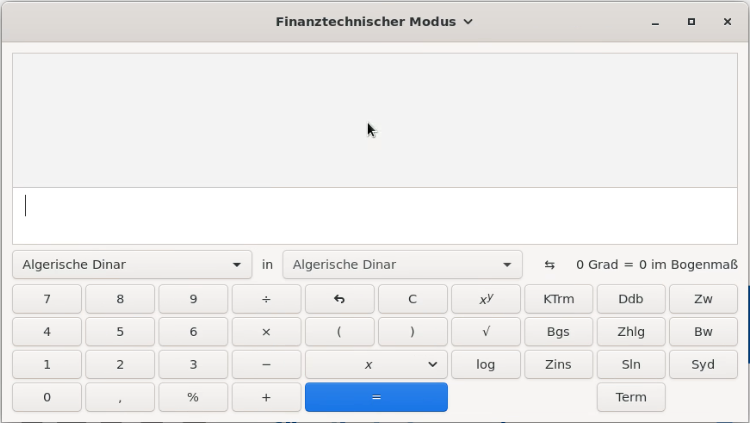
Financial mode
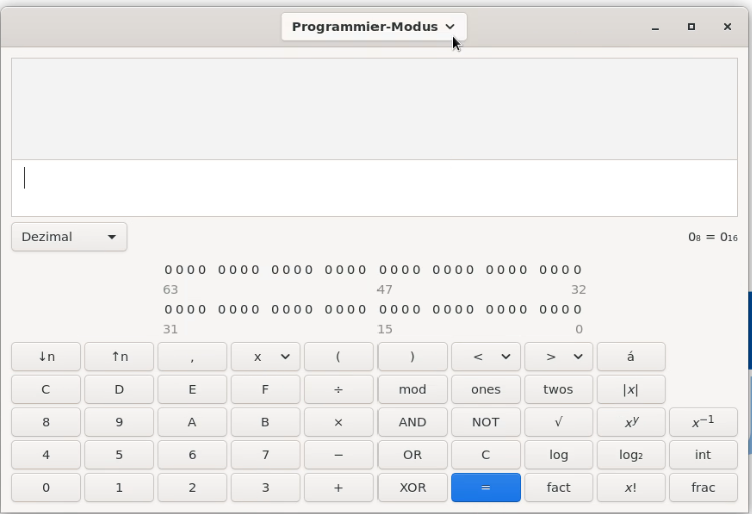
Programming mode
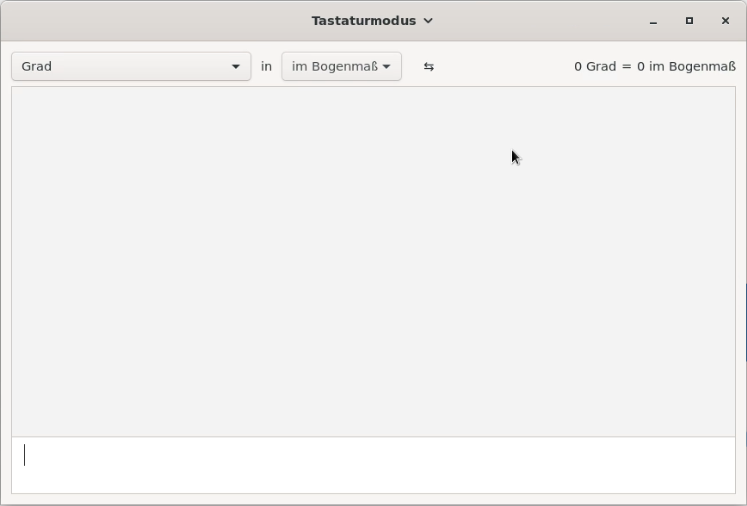
Keyboard mode
Clicking the Dynexite logo returns students to the exam system.
¶ Submitting the Exam Before the End of the Exam Time
¶ Manual Submission
If students want to submit their exam before the end of the exam time, they click Submit at the bottom right. The following view appears: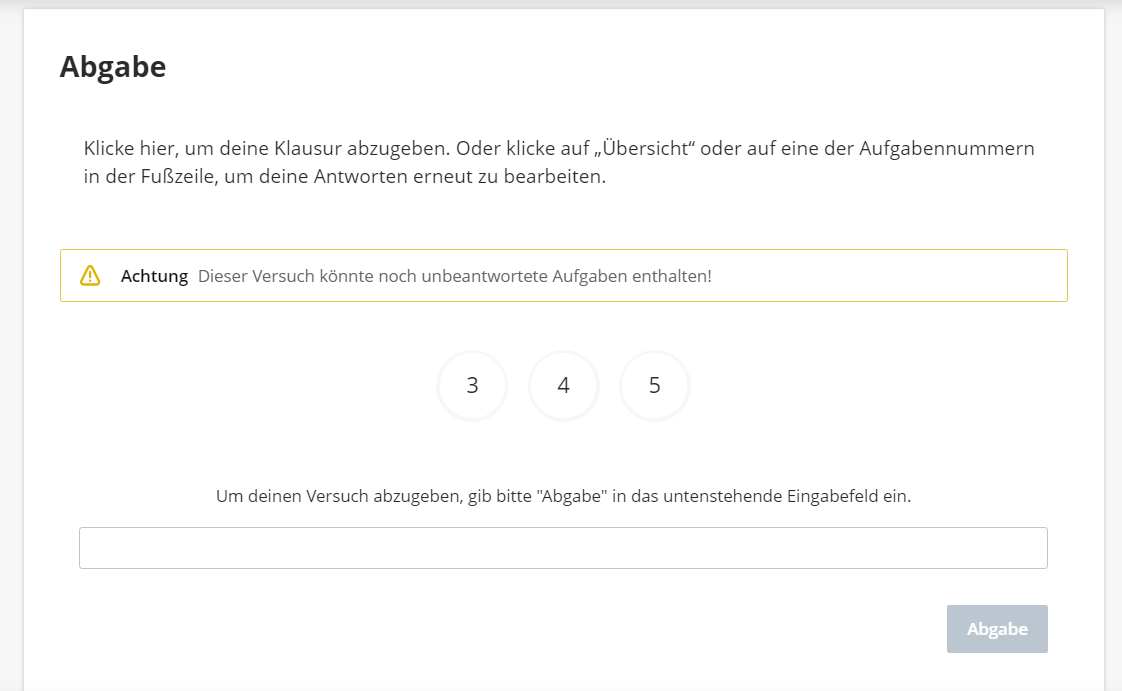
The Submit button only becomes active after the word „Submit“ has been manually entered into the text field.
The submission must then be confirmed in an additional window: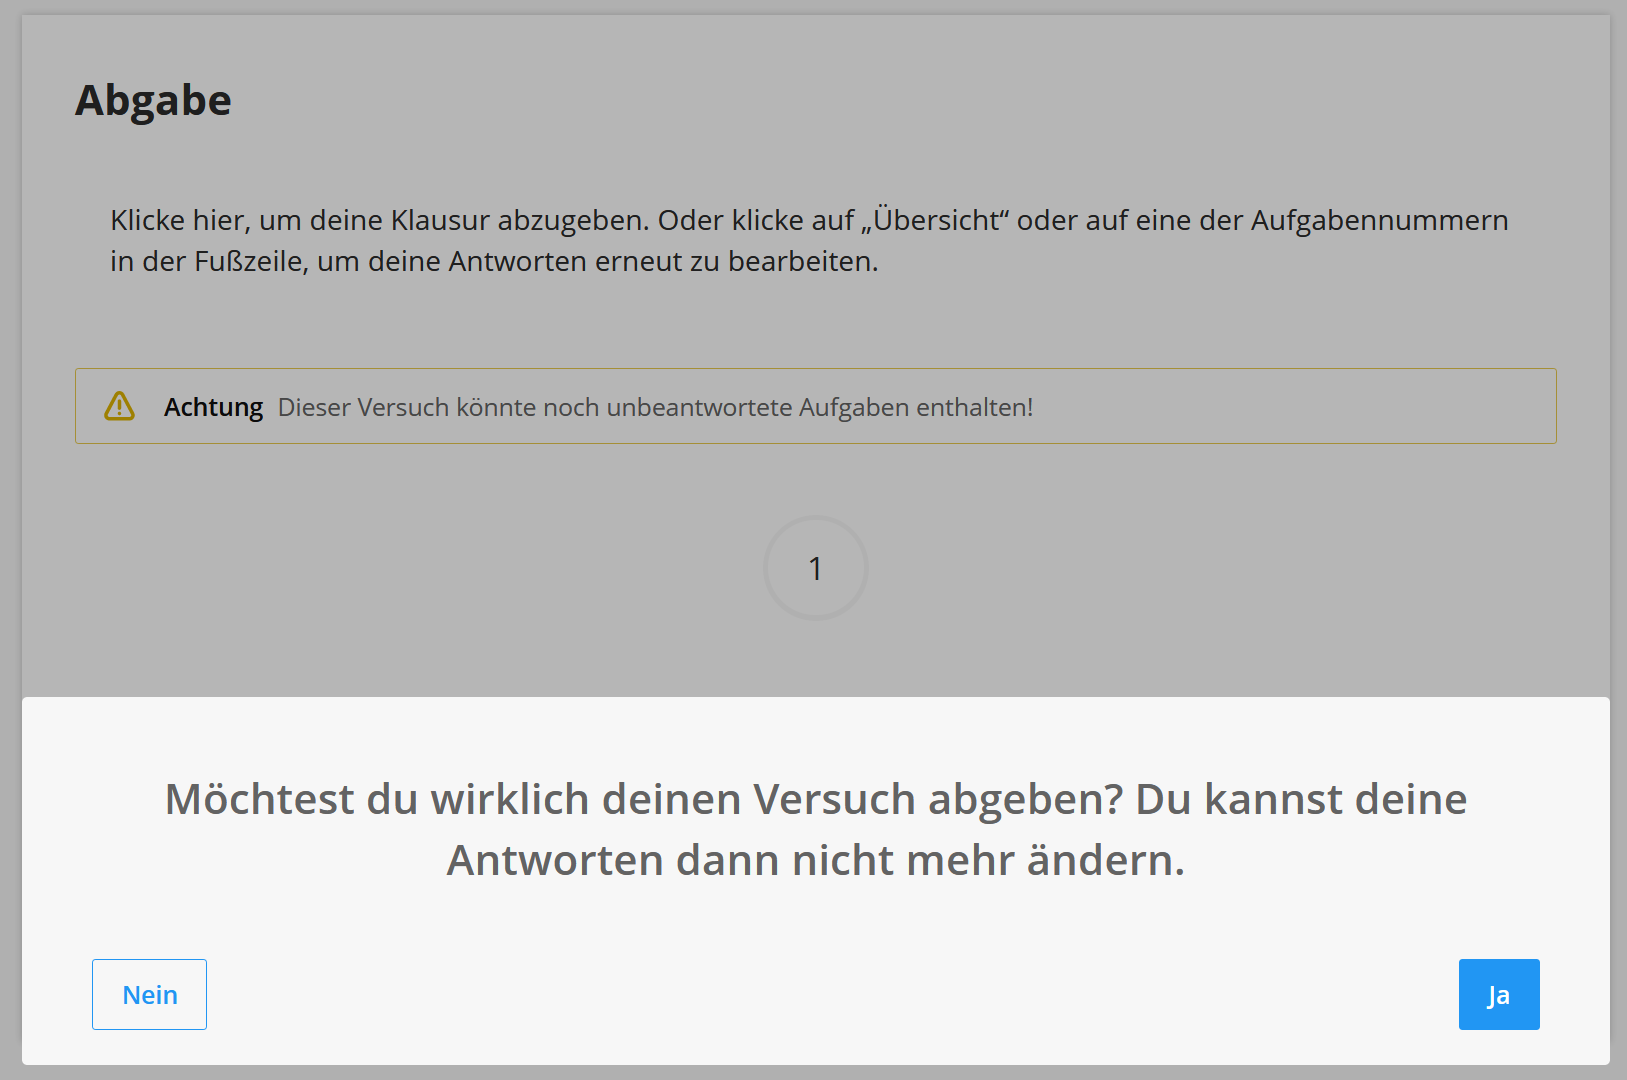
A window that closes automatically then indicates that the attempt has been successfully submitted.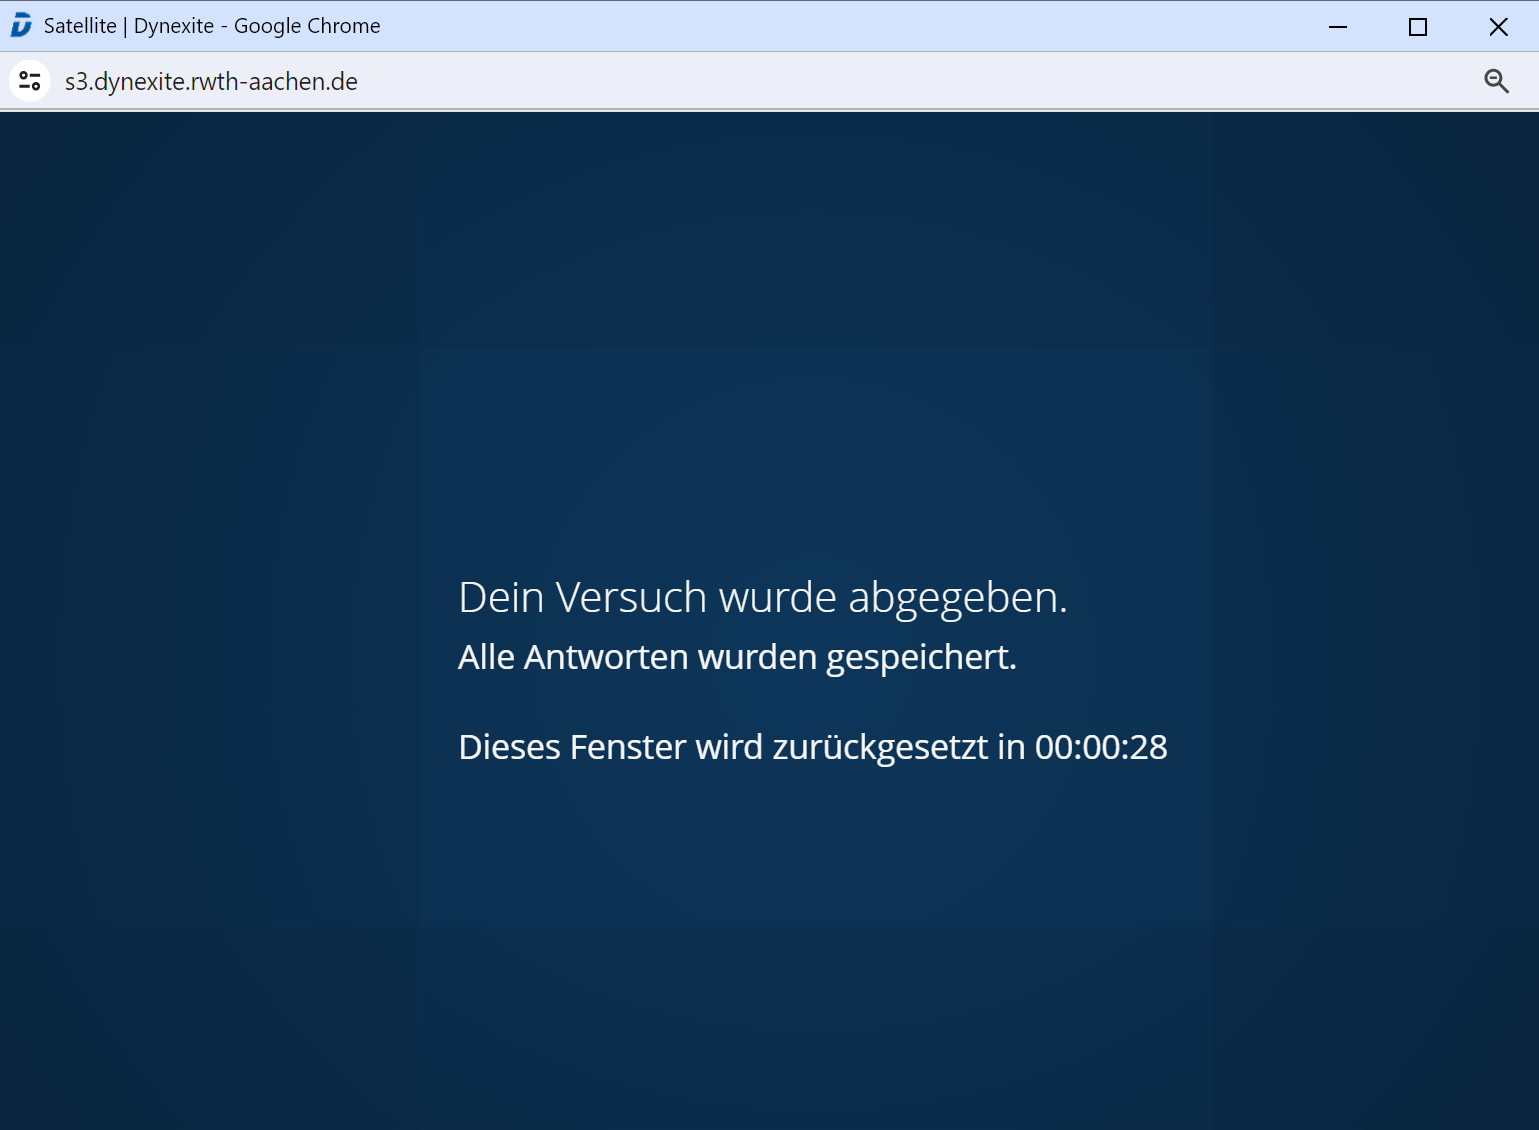
¶ Automatic Submission When Time Expires
If the exam time has expired, the exam is submitted automatically.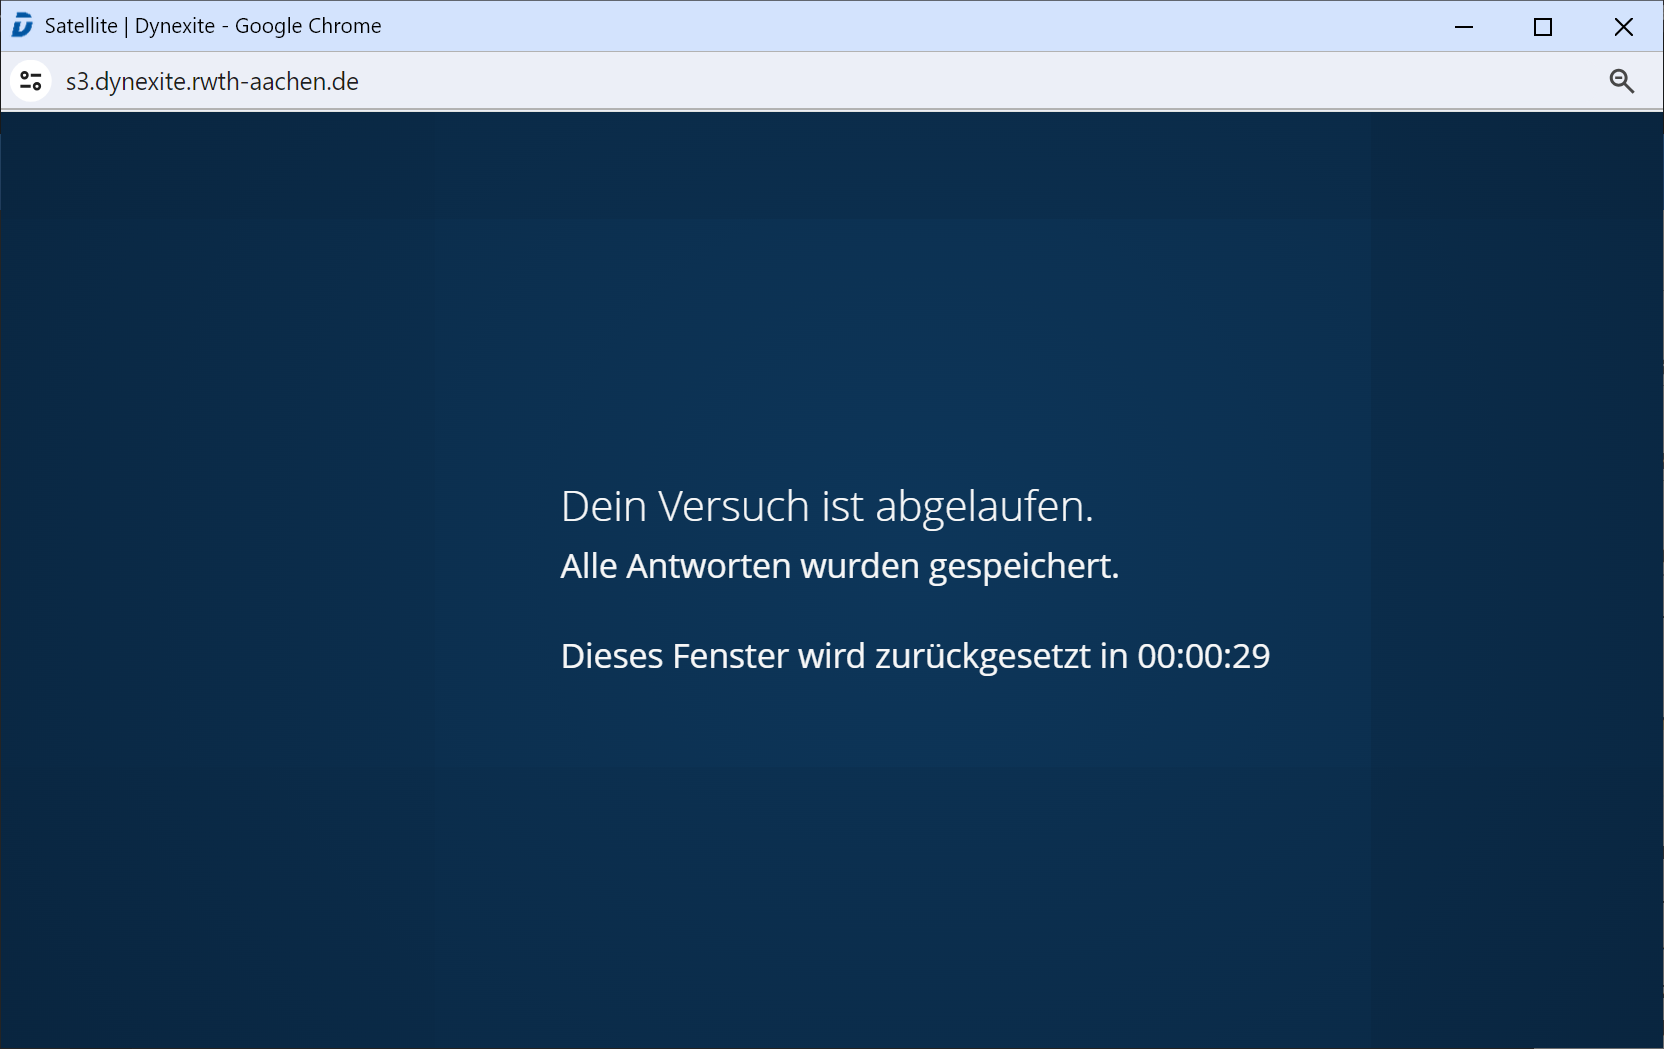
¶ Exam review
In general, the chair informs students via the Moodle course page or email about when and where the exam review will take place. It can either be conducted from home or under supervision (in the ZuseLab, RWTH-specific information).
Once the exam review has started, the review time continues to run even in the event of connection interruptions or intentional disconnection. Even without an active internet connection, the exam remains visible; however, no regrading requests can be submitted after the review period has expired.
¶ Exam Archive
Before the start of the exam review, students are informed that they can request an archive of their exam to be made available for download.
After clicking Start Review, a digital assistant guides students step by step through the process of requesting the exam archive.
The review period only begins after the assistant has been completed in full. Alternatively, the archive can also be requested later during an ongoing review via the option in the i tab. In this case, the review time continues to run while the assistant is being used.
After the review, students can download the archive within 14 days after it has been made available in the download section of the Dynexite learning environment.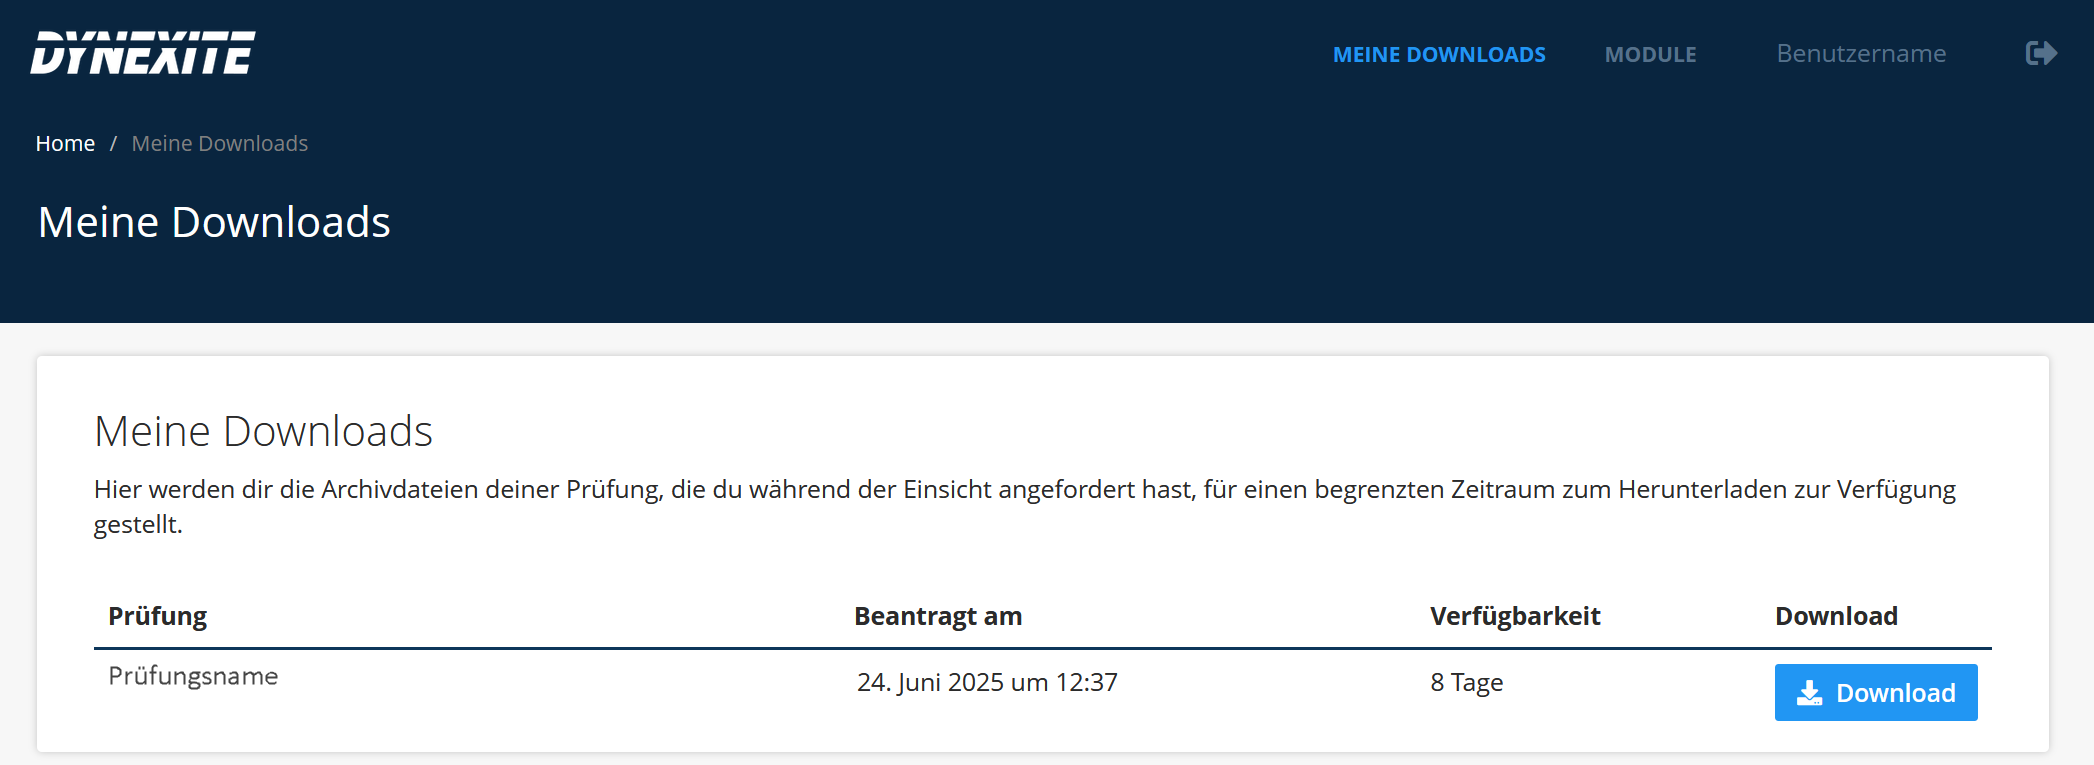
The exam archive contains a copy of the exam and, if applicable, associated files such as uploaded documents, videos, formula sheets, or grading comments. Solutions or solution paths are not included.
¶ Exam Review from Home
- For participation with restricted access, login is via SSO at https://dynexite.rwth-aachen.de/l
- Without restricted access, participation is via the corresponding Moodle course by clicking Open Dynexite.
¶ Exam Review with Supervision (RWTH-specific information).
Supervised exam reviews take place in the ZuseLab.
On site, students are enabled for participation by the chair staff. They then log in at the computers in the ZuseLab using their student ID numbers.
¶ Process in Dynexite
In the Courses tab, all courses with open reviews are displayed for each student. After selecting a course and starting the review, the time defined by the chair begins, during which students can review answers and results and submit regrading requests.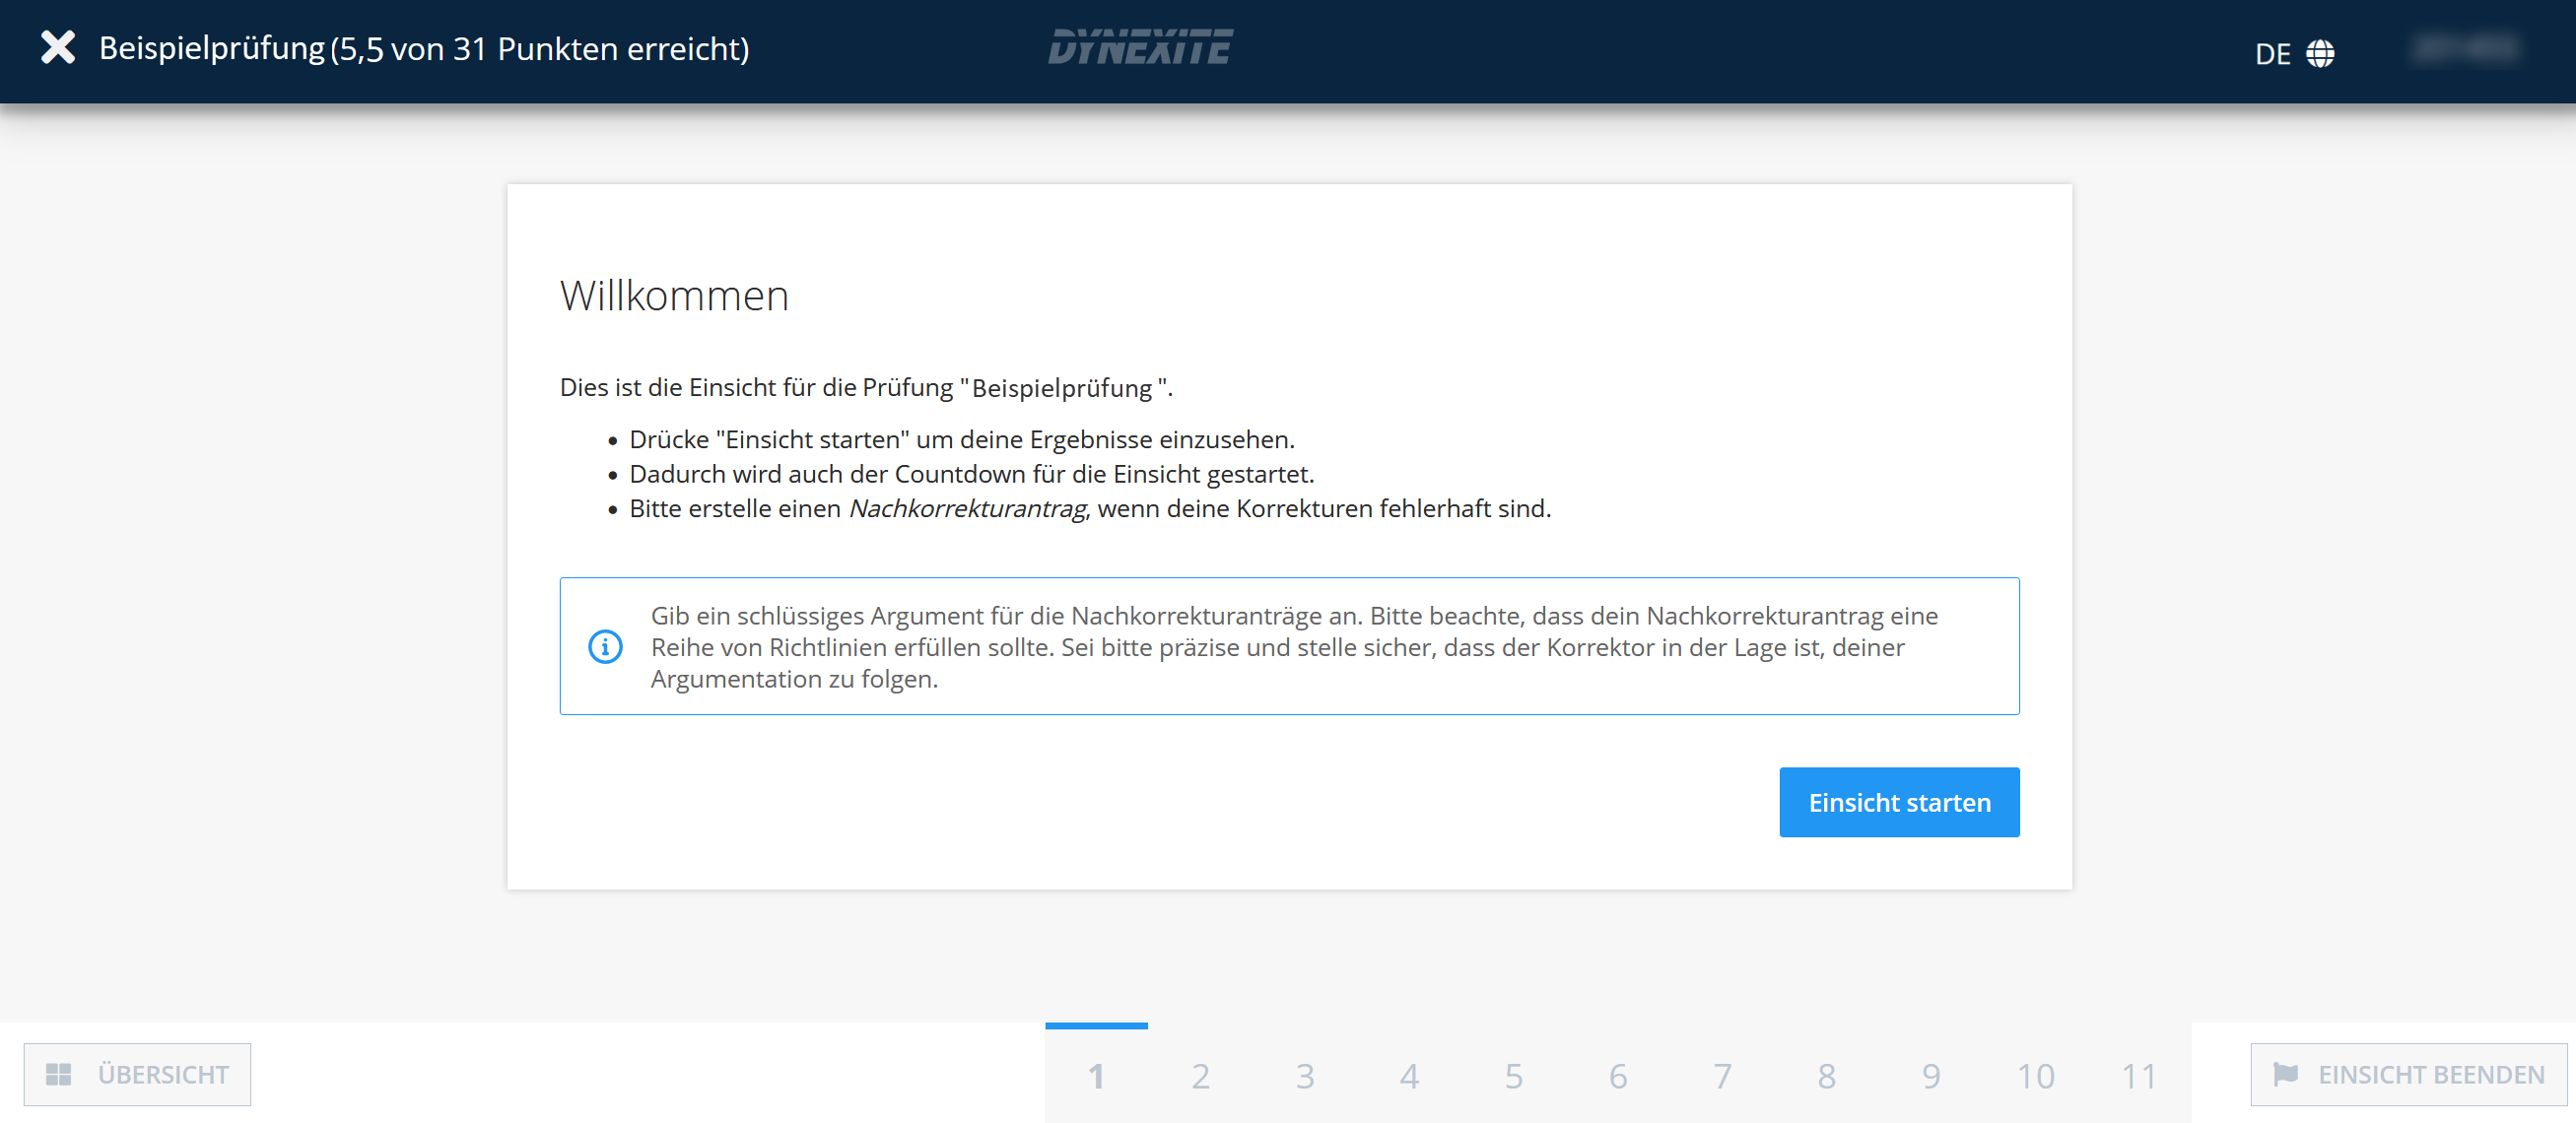
Regrading requests are submitted per task. To do so, students activate the checkbox at the end of a task and enter the corresponding text.
By clicking End Review, students can finish the review before the time expires.
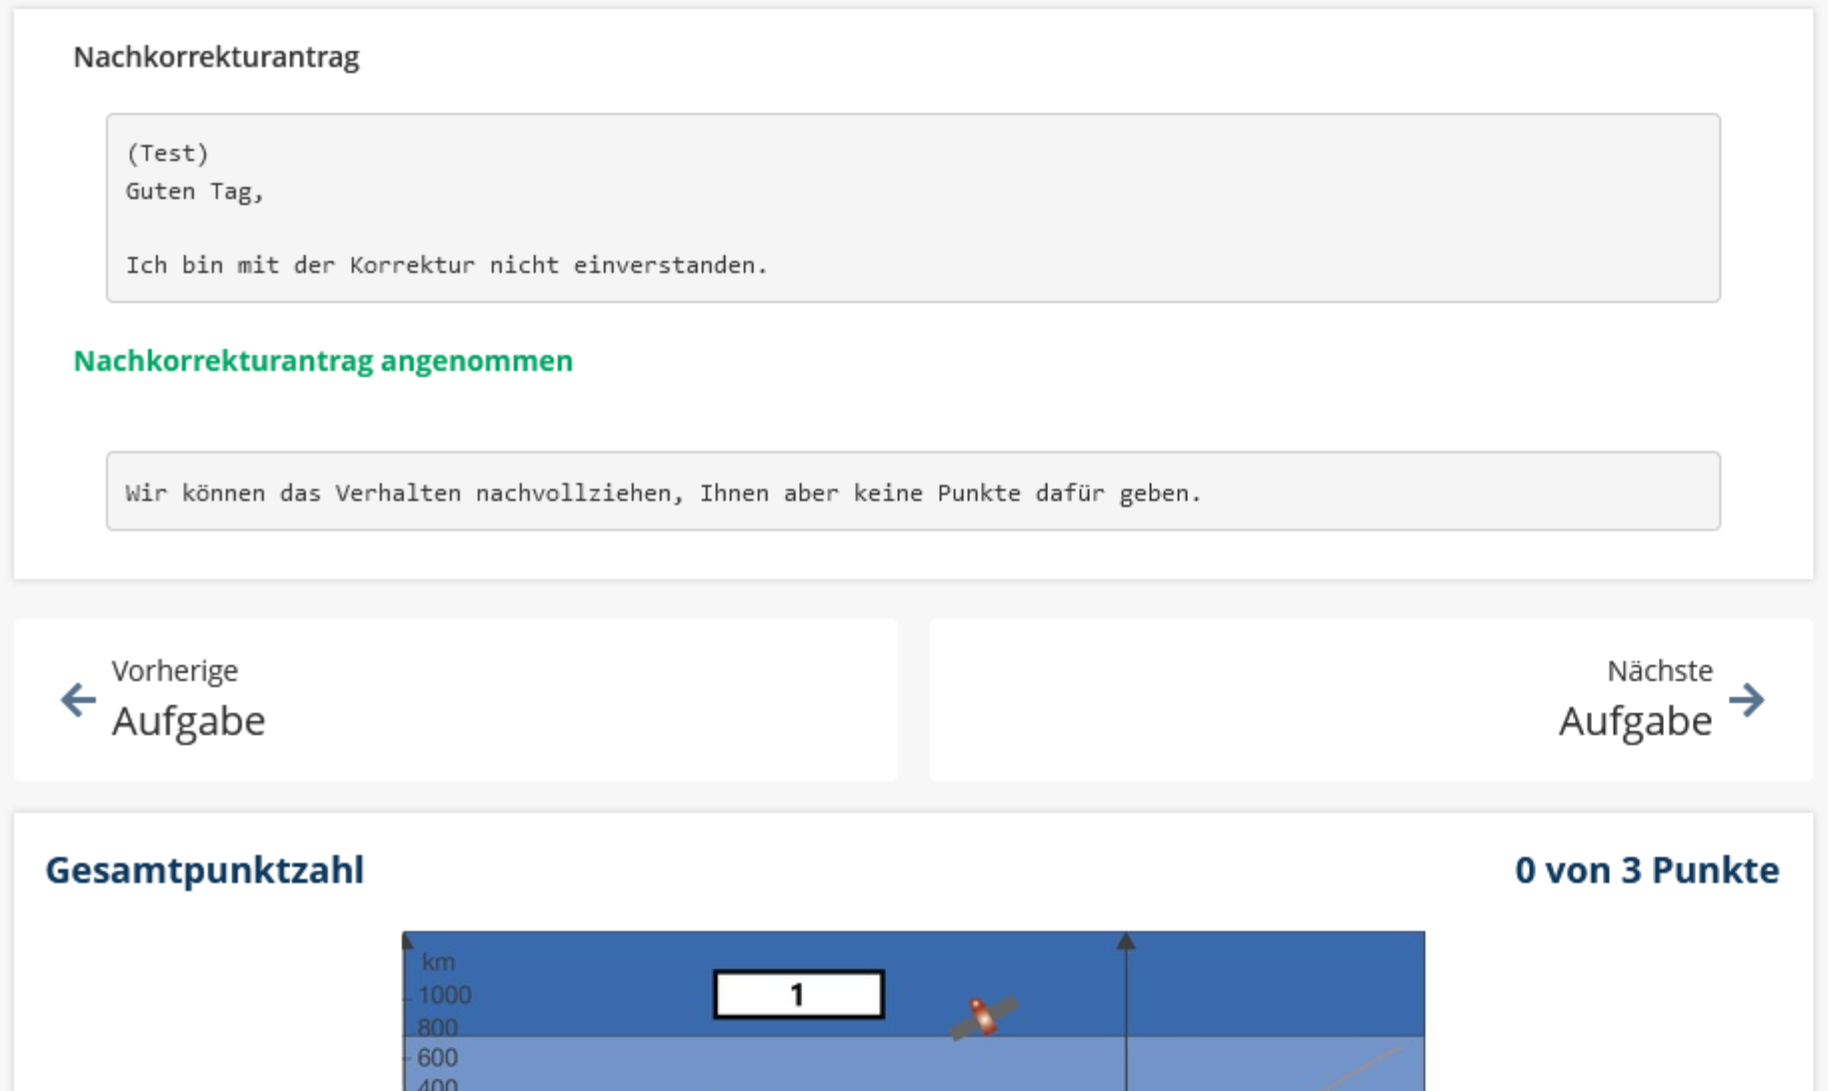
¶ Feedback on Regrading Requests
Students are notified in Dynexite as soon as results for regrading requests are available:
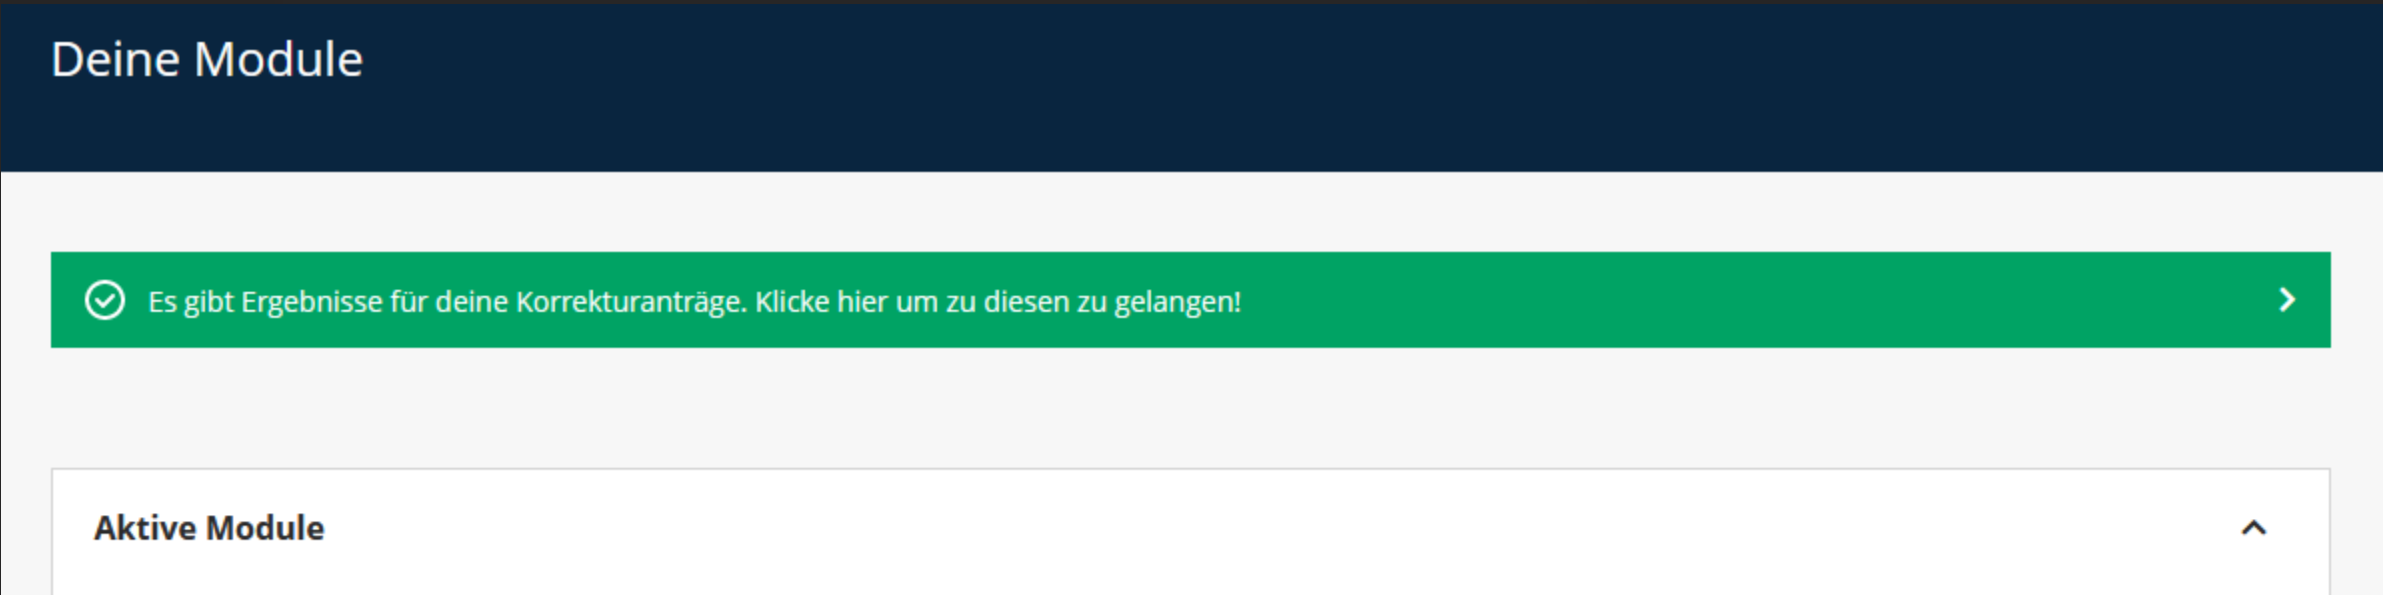
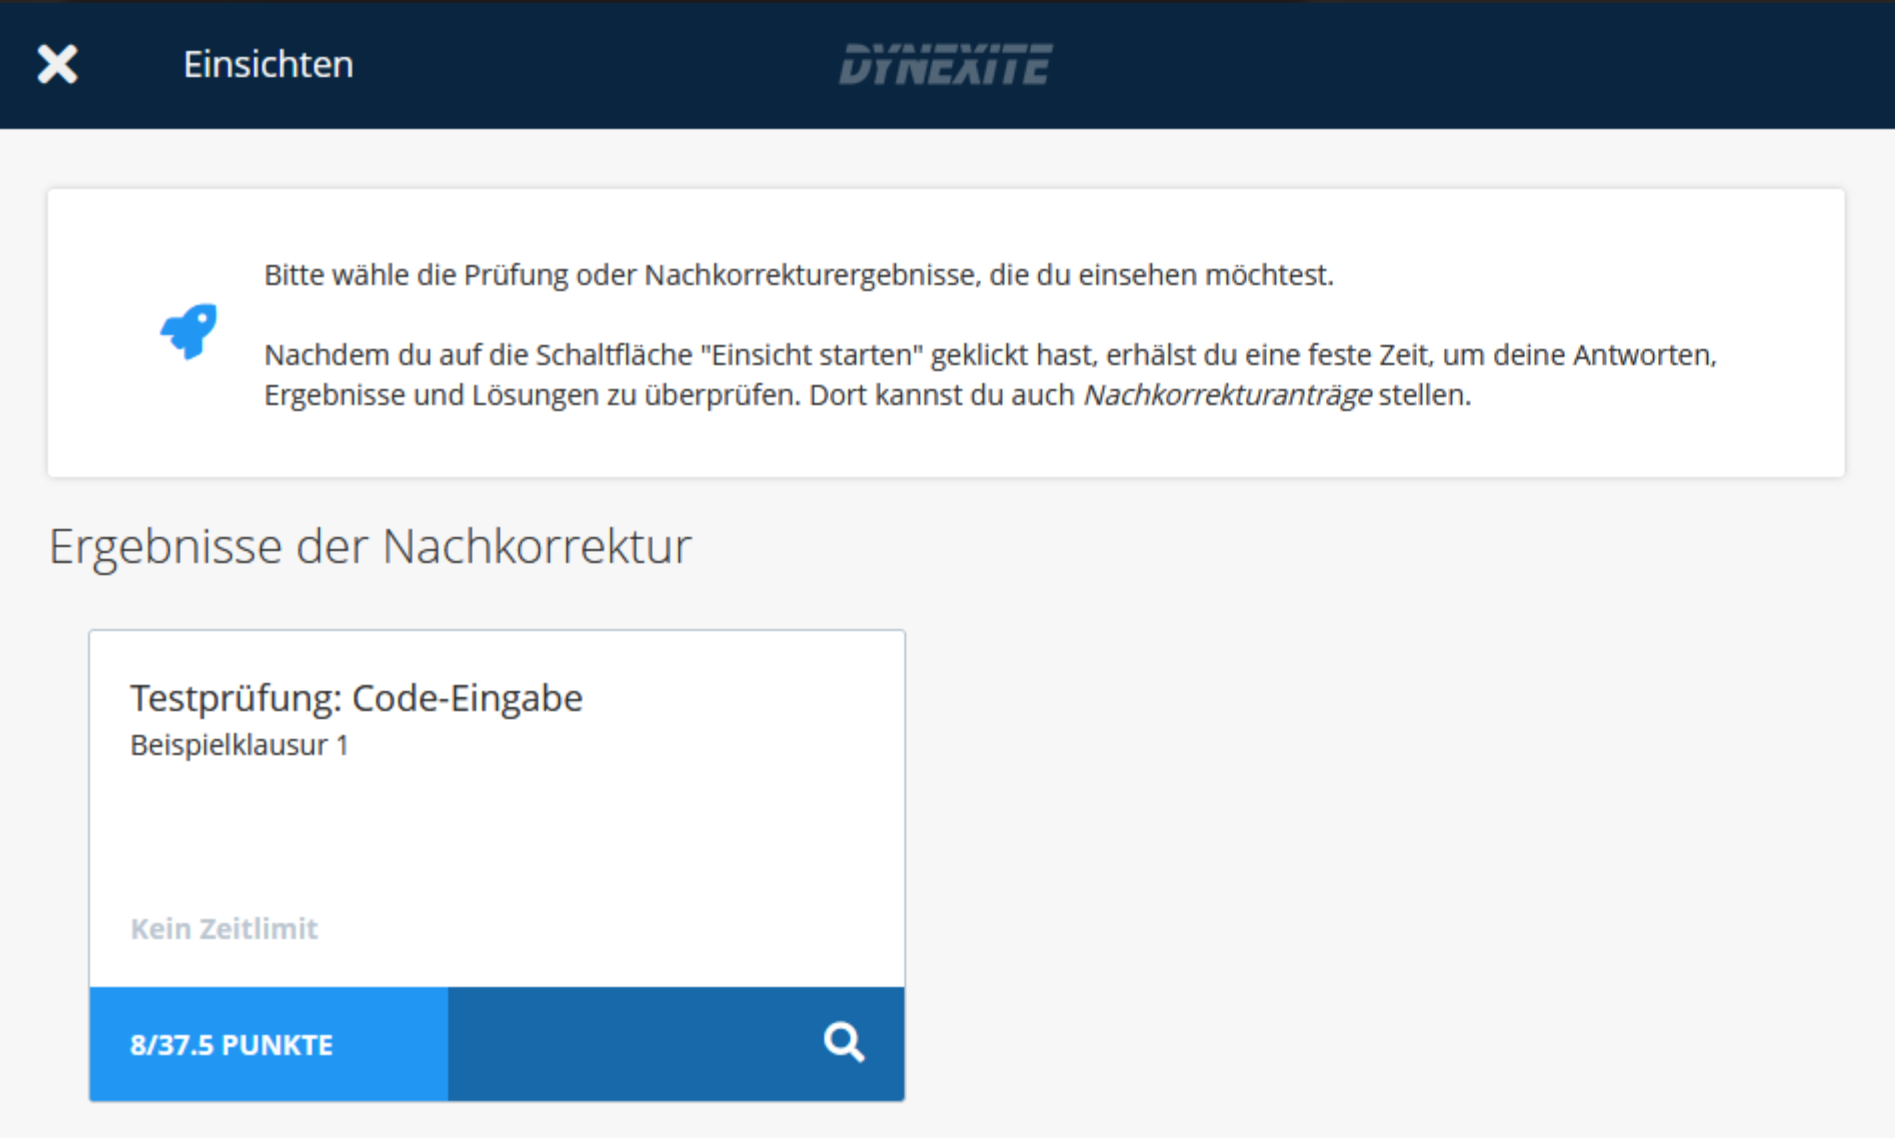
Clicking the green information banner opens the overview Post-Inspection Results:
Tasks for which no regrading request has been submitted are displayed as follows:
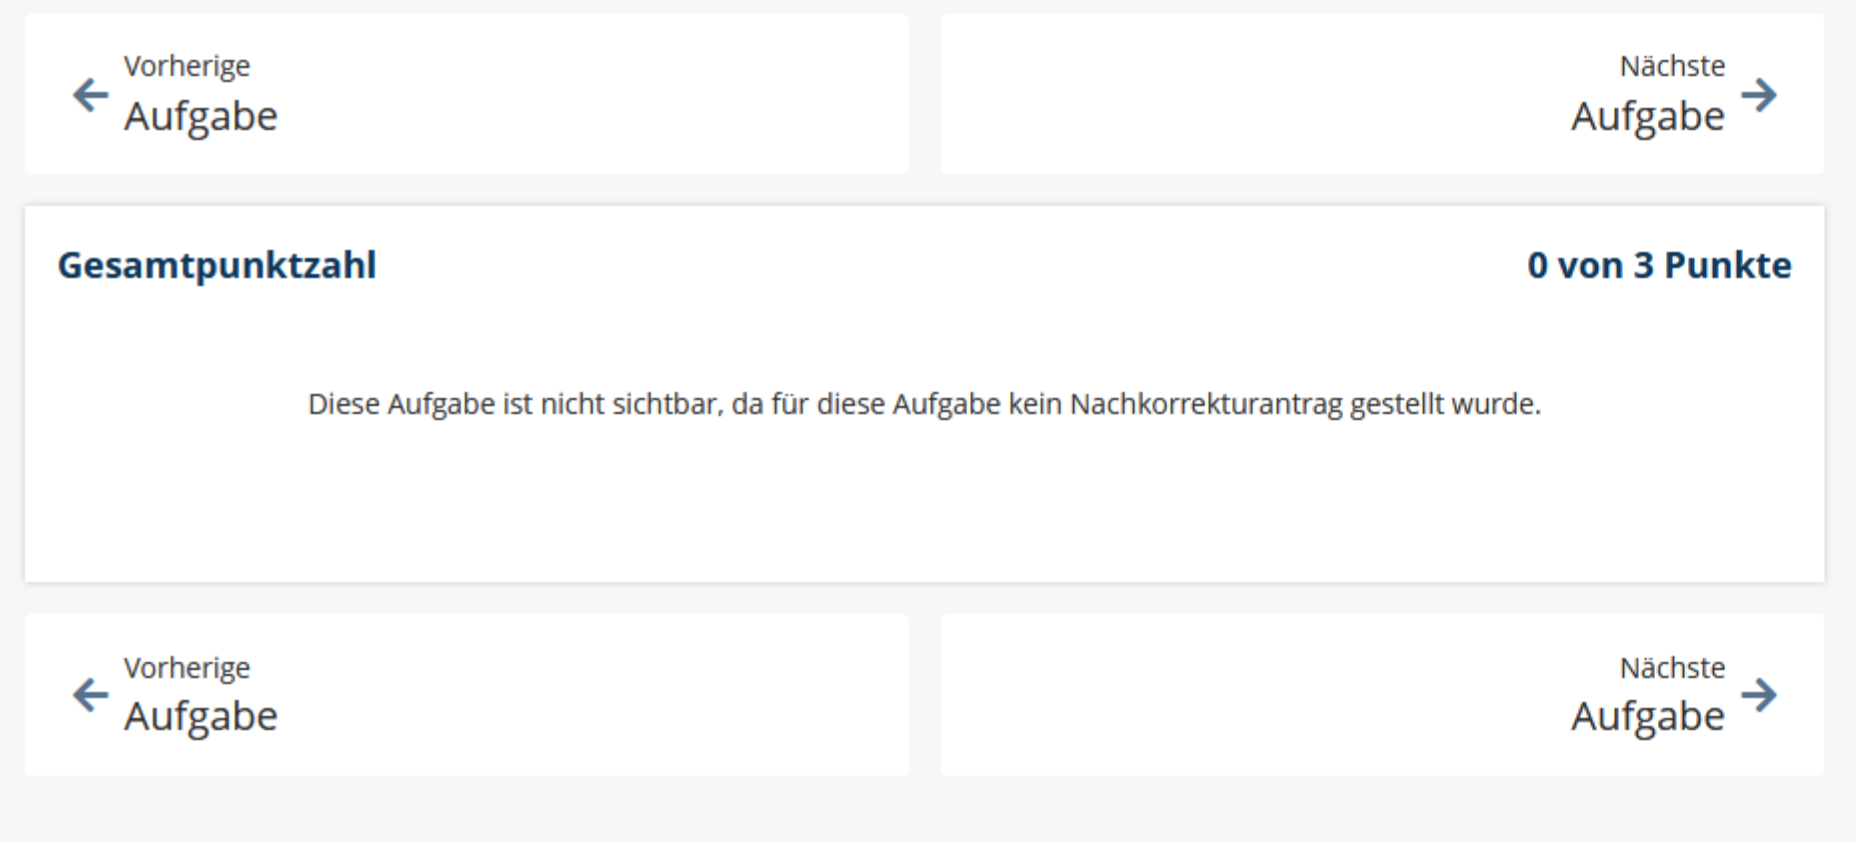
If a regrading request has been processed, it appears as follows:
¶ Exercises
After logging into the Dynexite learning environment at https://dynexite.rwth-aachen.de/l, students see all activated homework and self-assessment exercises in the Courses tab.
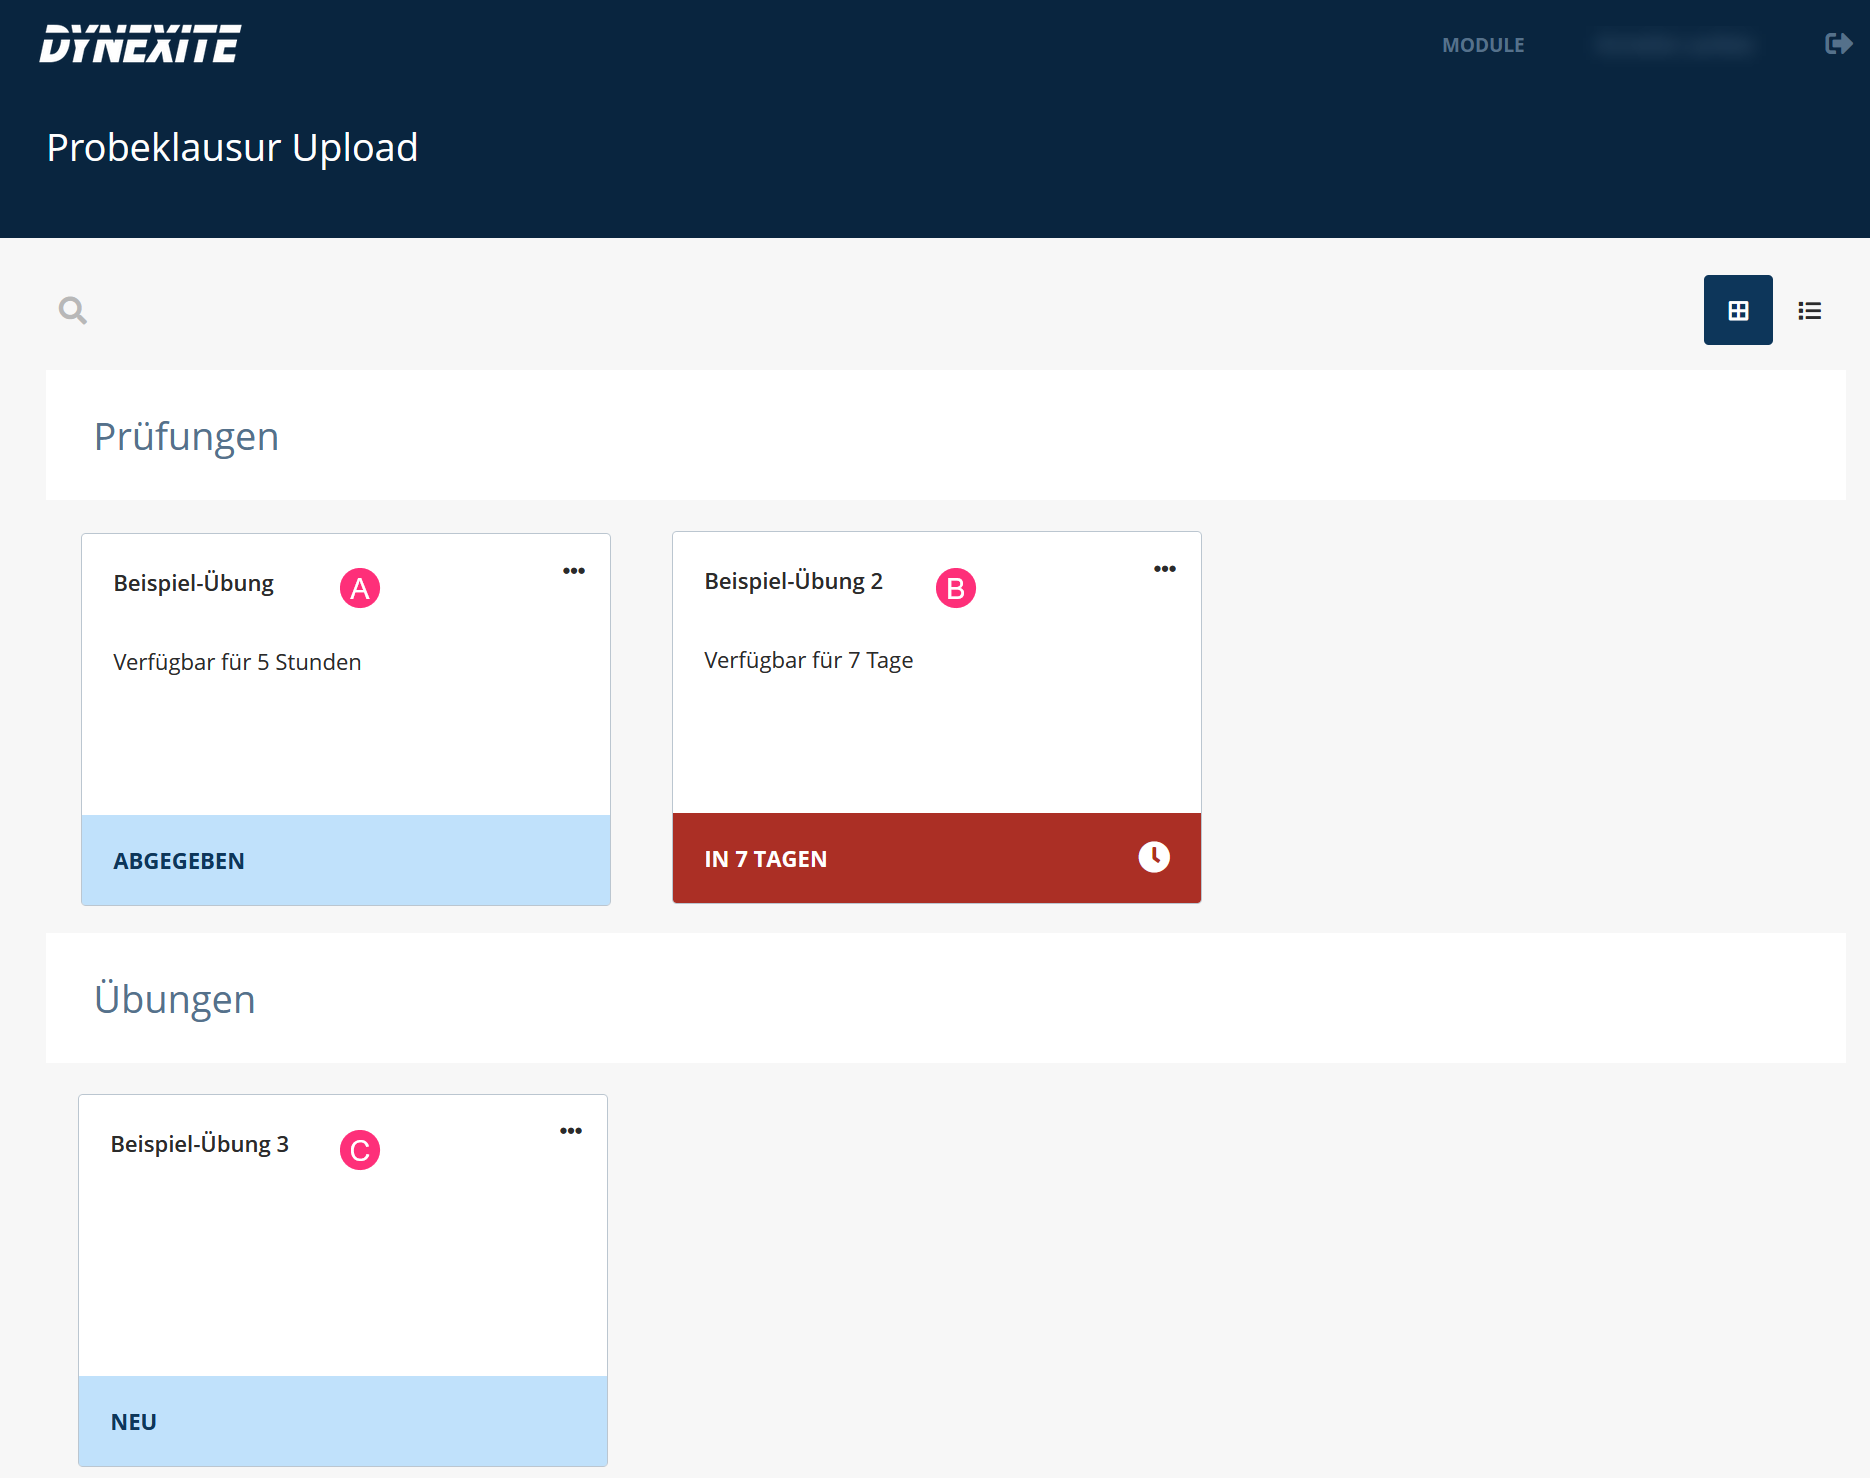
- (A): Assignment that the student has completed (no further attempts available).
- (B): Assignment that can still be started within 7 days.
- (C): ESelf-assessment exercise, available without time limitation and with unlimited attempts.
¶ FAQ
My connection is interrupted during an online remote exam. What can I do?
Inform the exam invigilators. In most cases, you can log in again. In the event of connection interruptions, no data is lost and the exam time is paused accordingly.
Can I freely manage the review time when taking the exam review from home?
Once an exam review has been started, the review time continues to run. It is not possible to use a review over multiple days with interruptions.